Learn Docker and Kubernetes With the Turing Pi
Posted by admin on

Once upon a time, if you wanted to install a piece of software, you just stuck an executable file on your hard drive somewhere and went on your merry way. But as computers became more complex, so did installation procedures, which led to problems like "dependency hell," as different applications dueled over conflicting system configurations.
One increasingly popular solution today is to add a container layer to the software stack, giving each application its own temporary, sandboxed environment without needing the resources required for a complete stand-alone virtual machine. And as a bonus, containers make it easier to deploy applications efficiently in a cloud or across a local computing cluster.
The idea is straightforward, but the array of implementations is bewildering, especially if, like me, you're not a seasoned system administrator. I wanted to get my feet wet with container technology without the risk of accidentally running up hefty cloud charges, so I decided to try out the Turing Pi, which lets you use up to seven Raspberry Pi compute modules as a cluster.
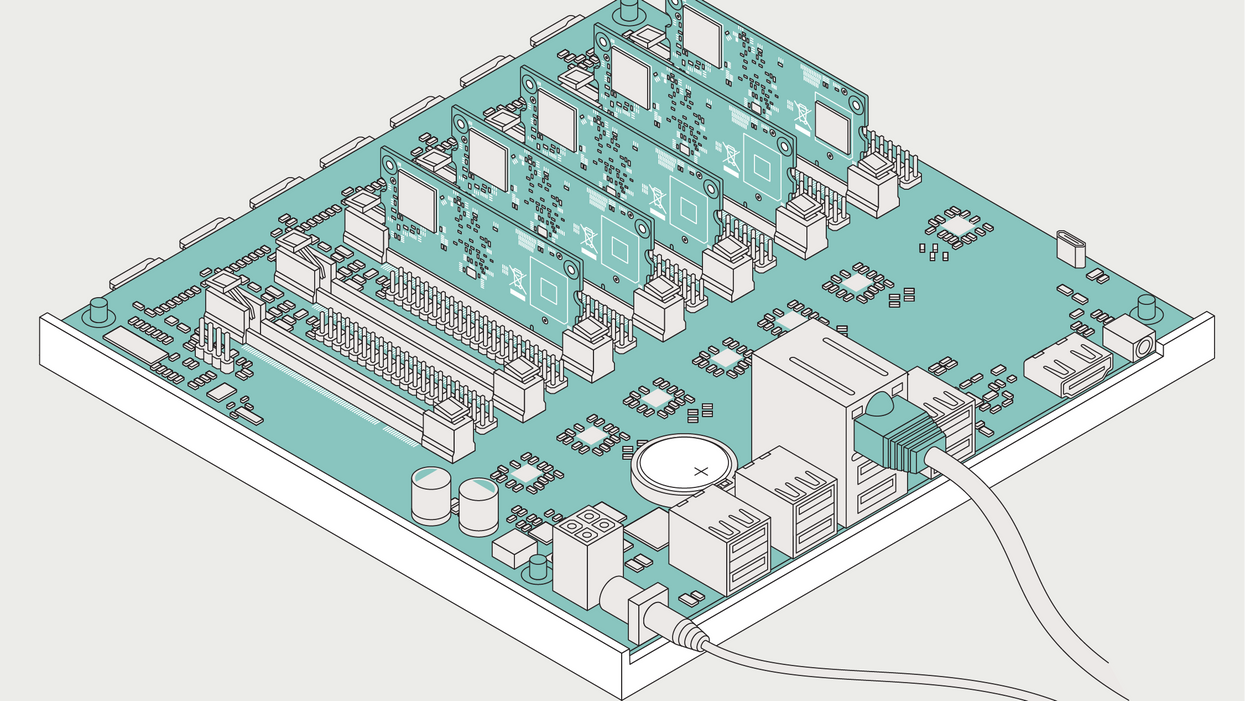
The US $199 Turing Pi has the same dimensions as a mini ITX PC motherboard and has USB, HDMI, and Ethernet ports. But what looks like a row of slots for memory chips are slots for compute modules. The current version supports the Raspberry Pi Compute Module 1 and Compute Module 3: these are essentially just Raspberry Pi's minus any input/output ports. (A version that supports the latest, Compute Module 4 has been announced but there is no word yet on pricing or a release date).
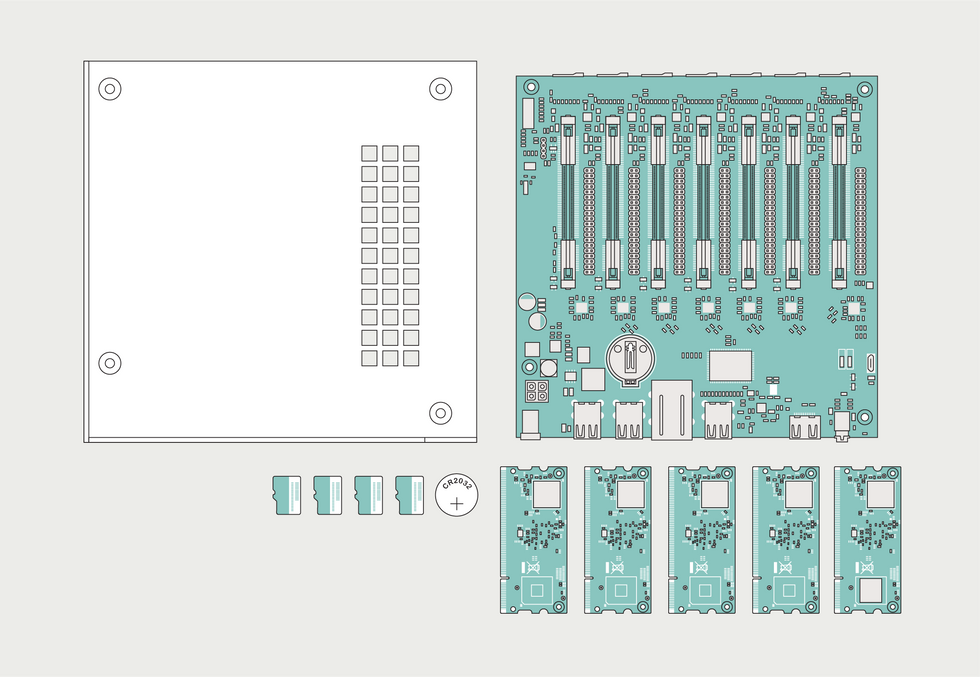
 The Turing Pi has the same form factor as a mini ITX PC motherboard and can be fitted into a standard mini PC case, although I just printed the bottom portion of one. Up to seven Raspberry Pi compute modules can be fitted, but not all slots have to be filled at once.James Provost
The point of the Turing Pi is to replace the mess of network cables, boxes, and multiple power supplies that are the invariable by-products of trying to build a cluster from standard Raspberry Pi's. The Turing Pi provides centralized power and a built-in Ethernet switch to connect the modules.
My first challenge though was to find enough Compute Module 3s to build a cluster. The current semiconductor supply squeeze meant I couldn't find any in stock online. Eventually I tracked five down at a local Micro Center. Next, I realized the Turing Pi really can't just sit unprotected on the surface of a desk, so I 3D-printed the base of an ITX PC case to support it.
The next step was to prepare the compute modules for cluster life by configuring each one's operating system. The Turing Pi docs recommend using HypriotOS, which is a stripped-down version of the Debian Linux operating system with the Docker container system preinstalled.
How you install Hypriot depends on the flavor of your compute modules. The CM3 comes in two flavors: those with an onboard flash chip and those without, which need an external SD card for storage. The Turing Pi makes it easy to put Hypriot on a module with an onboard flash chip: You can put the module into the first slot, move a jumper to put it in flash mode, and upload Hypriot from a desktop computer via a micro-USB port. When you're done, you can check that the upload went okay because any module in the first slot has access to an HDMI port in addition to USB, meaning you can plug in a screen and keyboard to interact with it.
I was only able to get one compute module with built-in storage. For the others I needed to use SD cards—the Turing Pi provides a reader for each module. The Hypriot website details the rather fiddly process of flashing its OS to an SD card via the command line, but I just used the Raspberry Pi Imager graphical utility on my Mac. Then all I had to do was give each one a unique hostname so it could be identified on my local network.
My first challenge though was to find enough Compute Module 3s to build a cluster.
This is where I hit a roadblock. The instructions for changing the hostname on the Hypriot website suggest editing a configuration file on the SD card before flashing the operating system and booting it. But that's not a straightforward task, as the image of the operating system used to flash an SD card is not easy to edit. Making the configuration changes after I flashed the SD card wouldn't stick: Each time I rebooted, the default hostname would reappear. After some searching, and several false leads, I found the solution was to edit another configuration file entirely. I later also found the correct solution on the Turing Pi website, but under the documentation for installing Kubernetes, a completely different piece of cluster-management software.
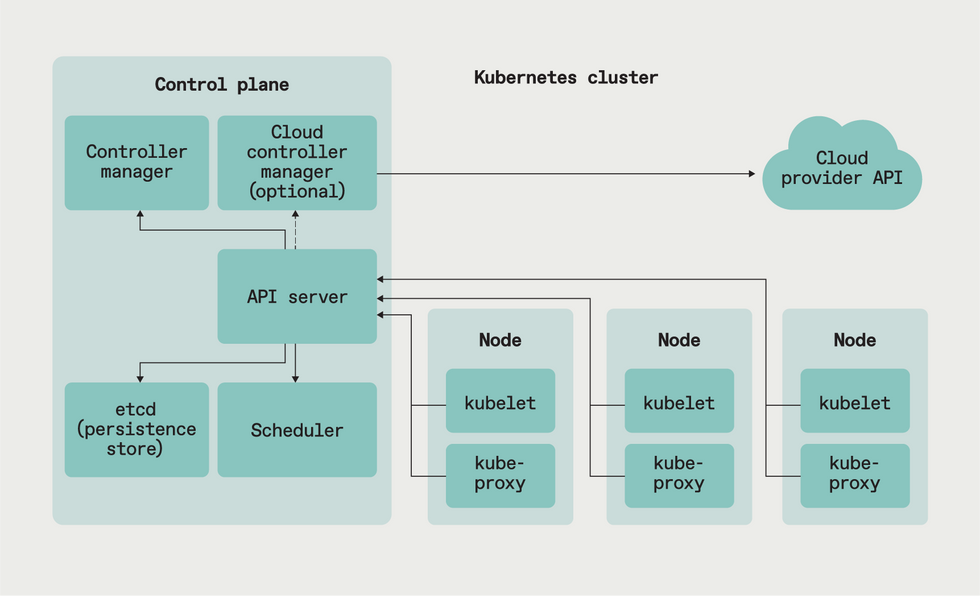
 A Kubernetes-based cluster on the Turing Pi uses one node as a control plane that manages the work done by containerized software running on the other nodes.James Provost
And this brings me to the Turing Pi's biggest weakness: The hardware is great but the documentation isn't. Much of it summarizes tutorials created by others, and I had to rely heavily on YouTube videos created by Jeff Geerling and DB Tech, although neither met my particular setup needs perfectly. Other times, you're directed to references designed for experienced container users.
I usually enjoy a good dive to grok something, but if you're going to position a product as essentially a training tool for newbies, then you need to be more comprehensive in guiding people along. However, I was finally able to get things up and running and finally understand the distinctions between things like Docker and Kubernetes (in a nutshell, Docker excels at running applications on a per-module basis in a cluster, while Kubernetes is for when you want to spread an application load across cluster modules). And my new cluster has uses beyond just learning container tech: I can see myself moving a lot of my experimentation with new languages or libraries over to the cluster rather than futzing with my desktop's setup. Eliminating those installation headaches would be worth the price tag alone.
This article appears in the November 2021 print issue as "Home Clustering Made Easier."
