

How to Use Kindle for Mac to Read Books and Make Notes on Your Mac
Posted by admin on
For avid readers, Kindles and the Kindle app can provide the opportunity to read a lot without having to store a ton of books, and without needing to pay hardcover prices. You might already know you can use the Kindle app on your iPhone and iPad—but did you know you can use the app on your Mac, too?
Below, we’ll tell you how to install and use the Kindle app on your Mac, and show you some great features it has, so you can read voraciously on your computer as well as on your other devices.
How to Install and Set Up Kindle for Mac
The free Kindle for Mac app can be found in the Mac App Store, which you can open from your Dock or from your Applications folder.
Type "Kindle" into the App Store’s search bar to find it—it should use the same app image as the iPad, iPhone, and Android version of the Kindle app. When you find it, open its App Store page by clicking on it.
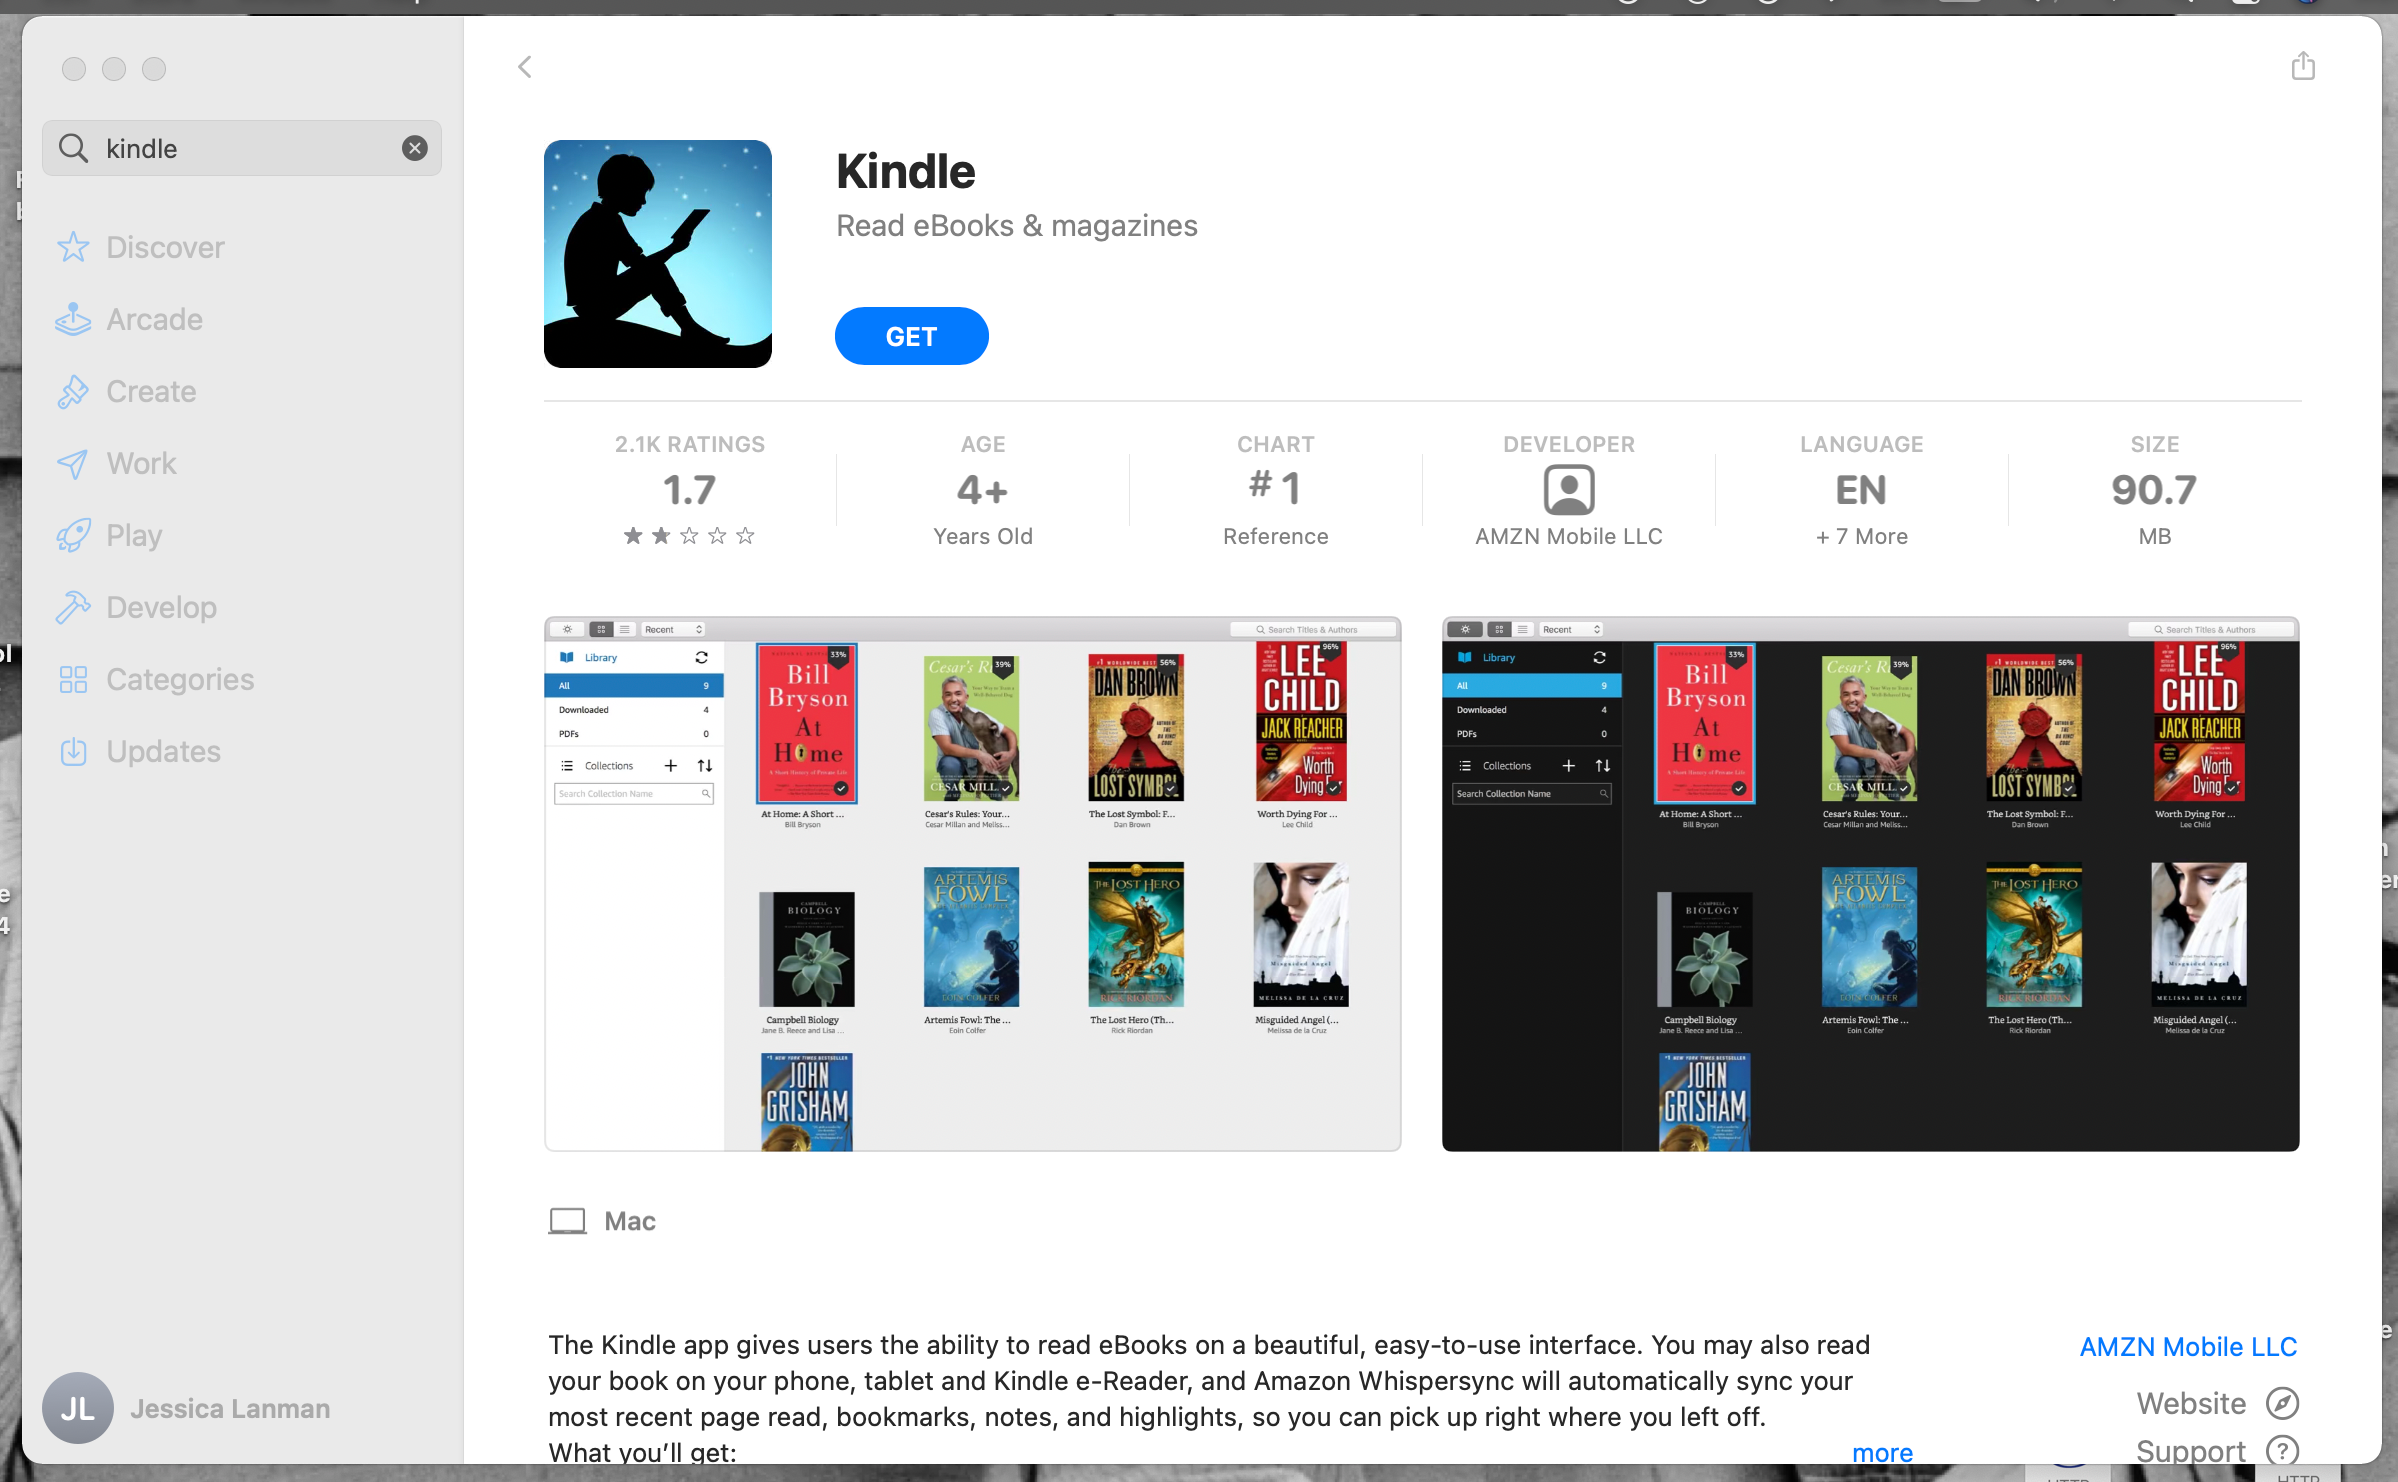
On the Kindle for Mac App Store page, click the Get button and then the Install button to start downloading the Kindle app onto your Mac.
The download won’t begin until you input your Apple ID and password, but once that’s verified, you’ll see the progress bar appear.

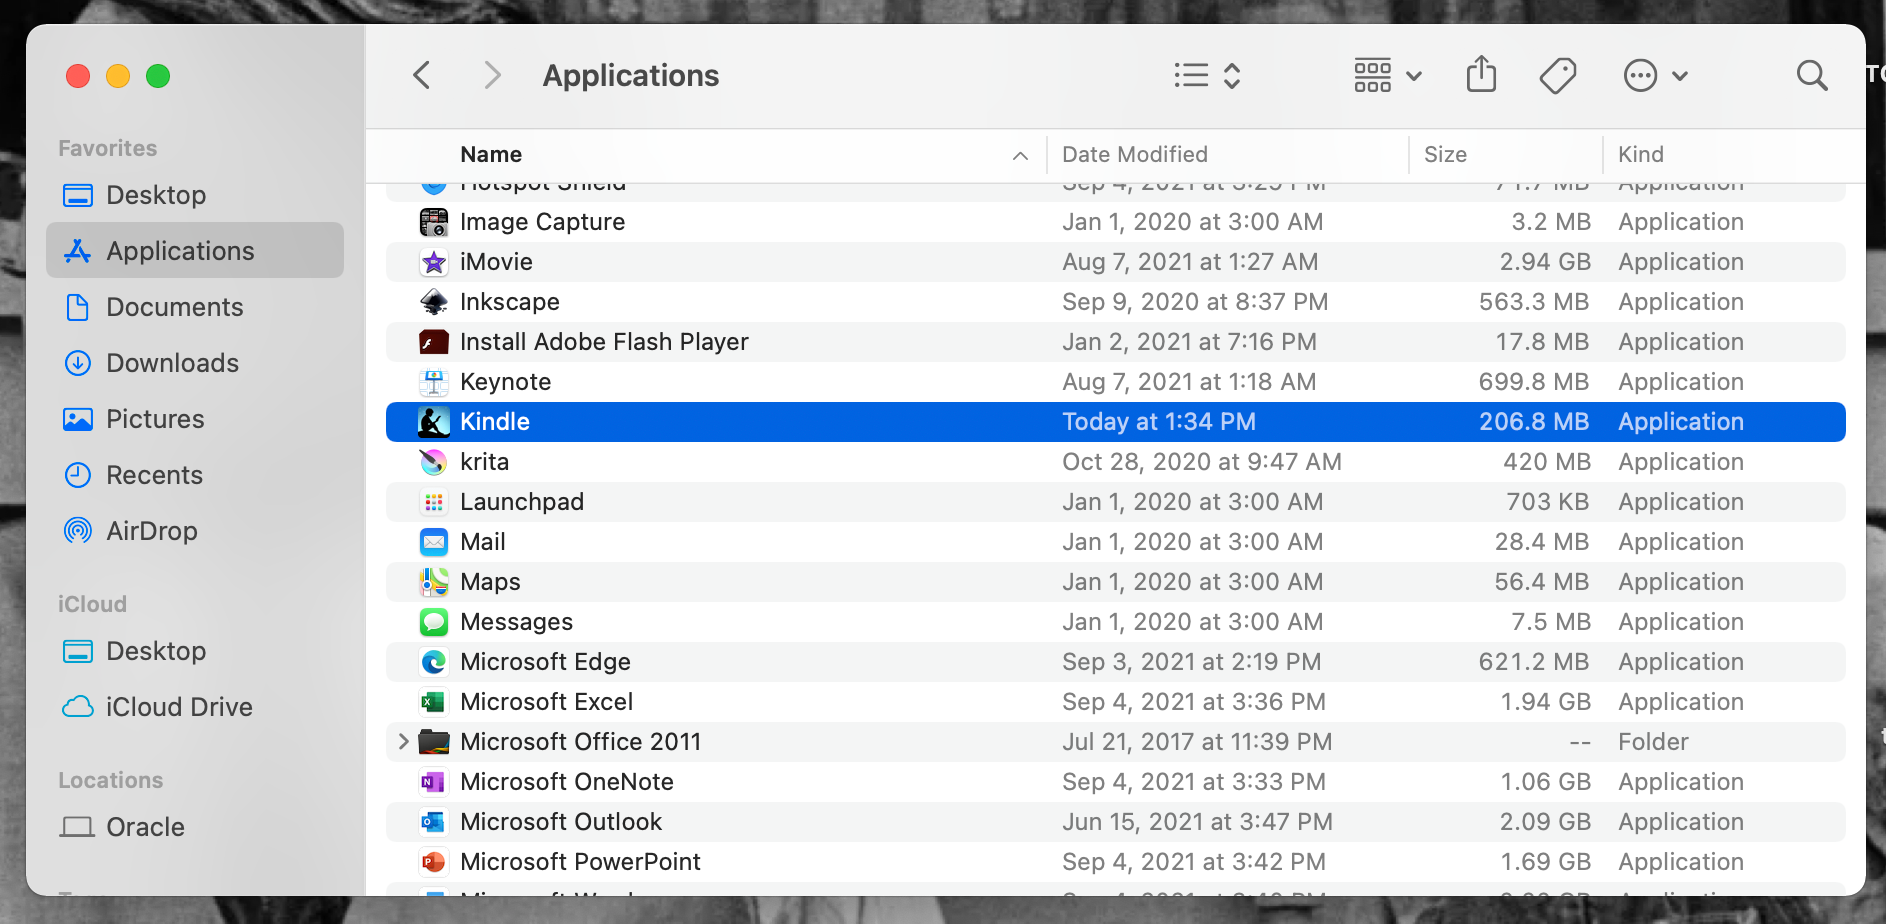
Once the download is complete, click Open in the App Store to open the Kindle for Mac app, or you can navigate to your Mac Applications folder and click Kindle in there.
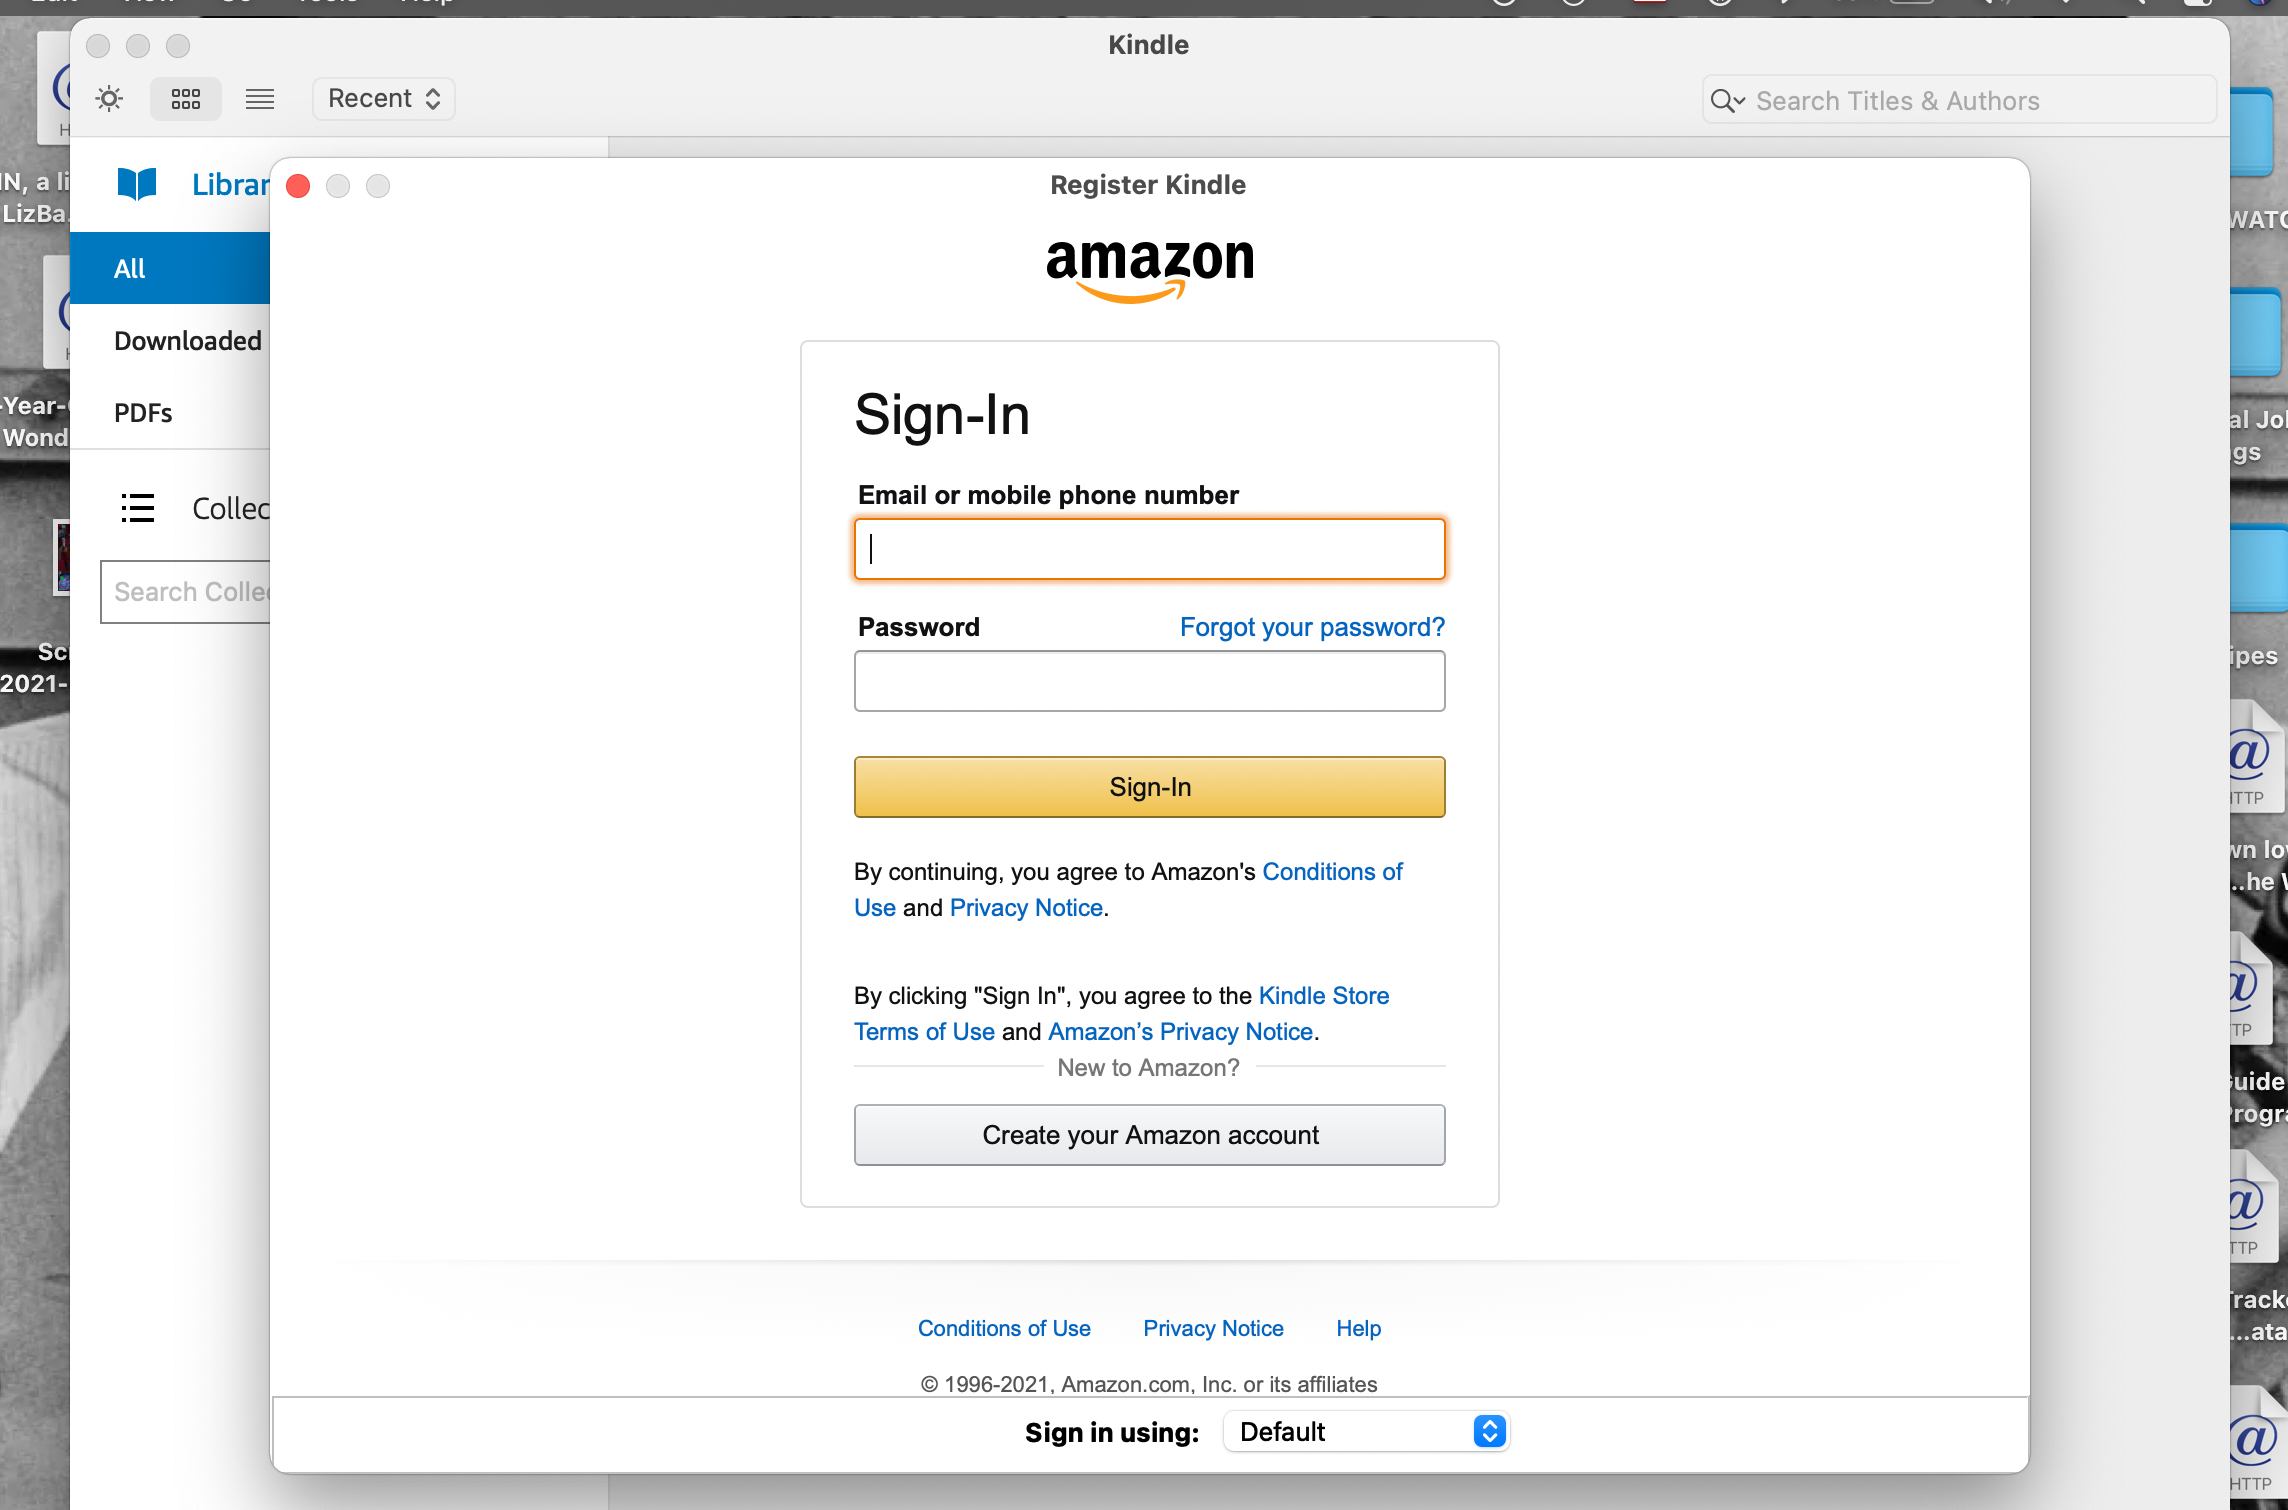
The first time you open the Kindle app on your Mac, you’ll see a Register Kindle window. Here, you’ll need to sign in to the Amazon account you use or will be using to make Kindle purchases.
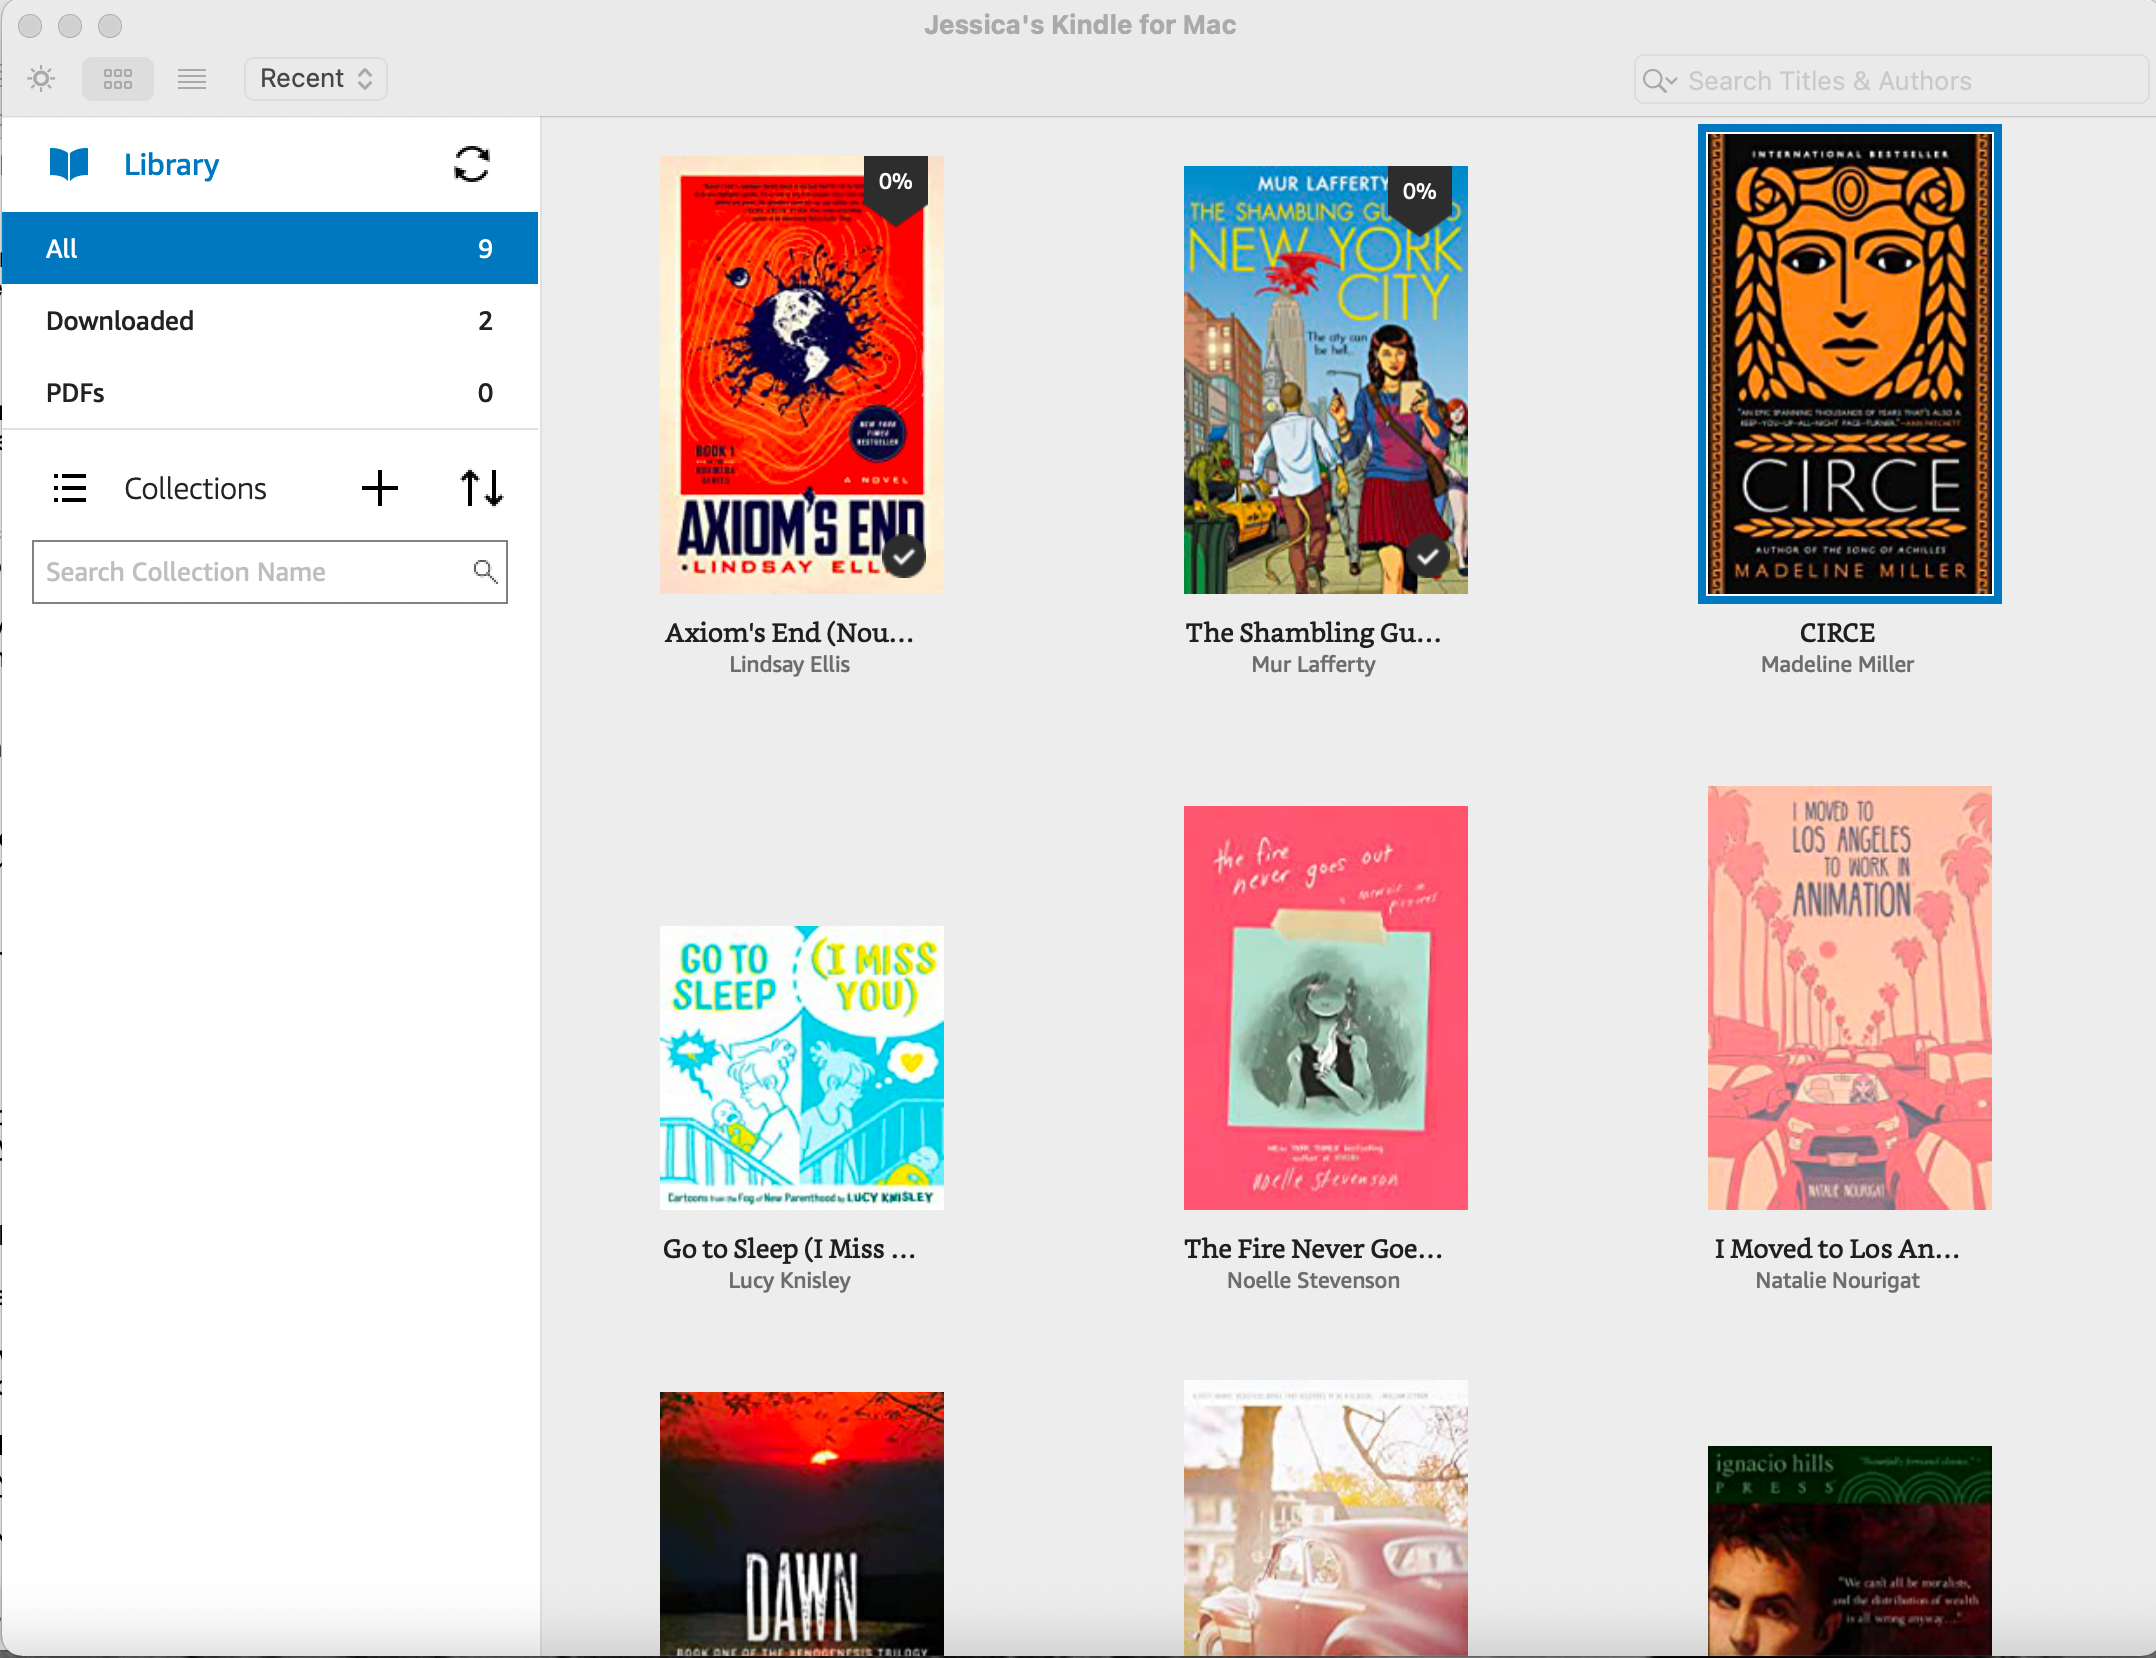
When you’re logged in, you’ll be brought into the normal main window of the Kindle for Mac app, which will list all the Kindle ebooks you have already purchased from Amazon.
Haven’t gotten any Kindle books yet? There are a few ways to get free or cheap Kindle books that will show up in your Kindle for Mac library once you buy or select them for download.
Even if you have books in your Kindle library, they aren’t downloaded to your Kindle for Mac app right away. We’ll go over how to download and start reading your ebooks in the next section.
How to Read Kindle Books on a Mac
ebooks arrive in your Kindle library via cloud syncing. So long as your Kindle app is connected to the internet, any Amazon ebook purchase will appear in the app library within moments (unless they’re preorders; those will arrive on publication day).
Once a Kindle ebook is in your Kindle app library, you must download it to read it. To download an ebook in the Kindle for Mac app, just double-click on it.
A progress bar will appear, but not for long: ebooks download quickly. Kindle for Mac will open the book for you right away, and you can start reading or click the Library button to head back and download more ebooks.
Downloaded ebooks will show a checkmark on their cover in your Kindle for Mac library, along with a percentage completed tracker. They will also appear in the Downloaded section of the Library list.
To read an ebook on Kindle for Mac, double-click on it to open it. Double-clicking will automatically bring you to the beginning of the ebook the first time you open it, and it’ll bring you to the last page you read every time after.
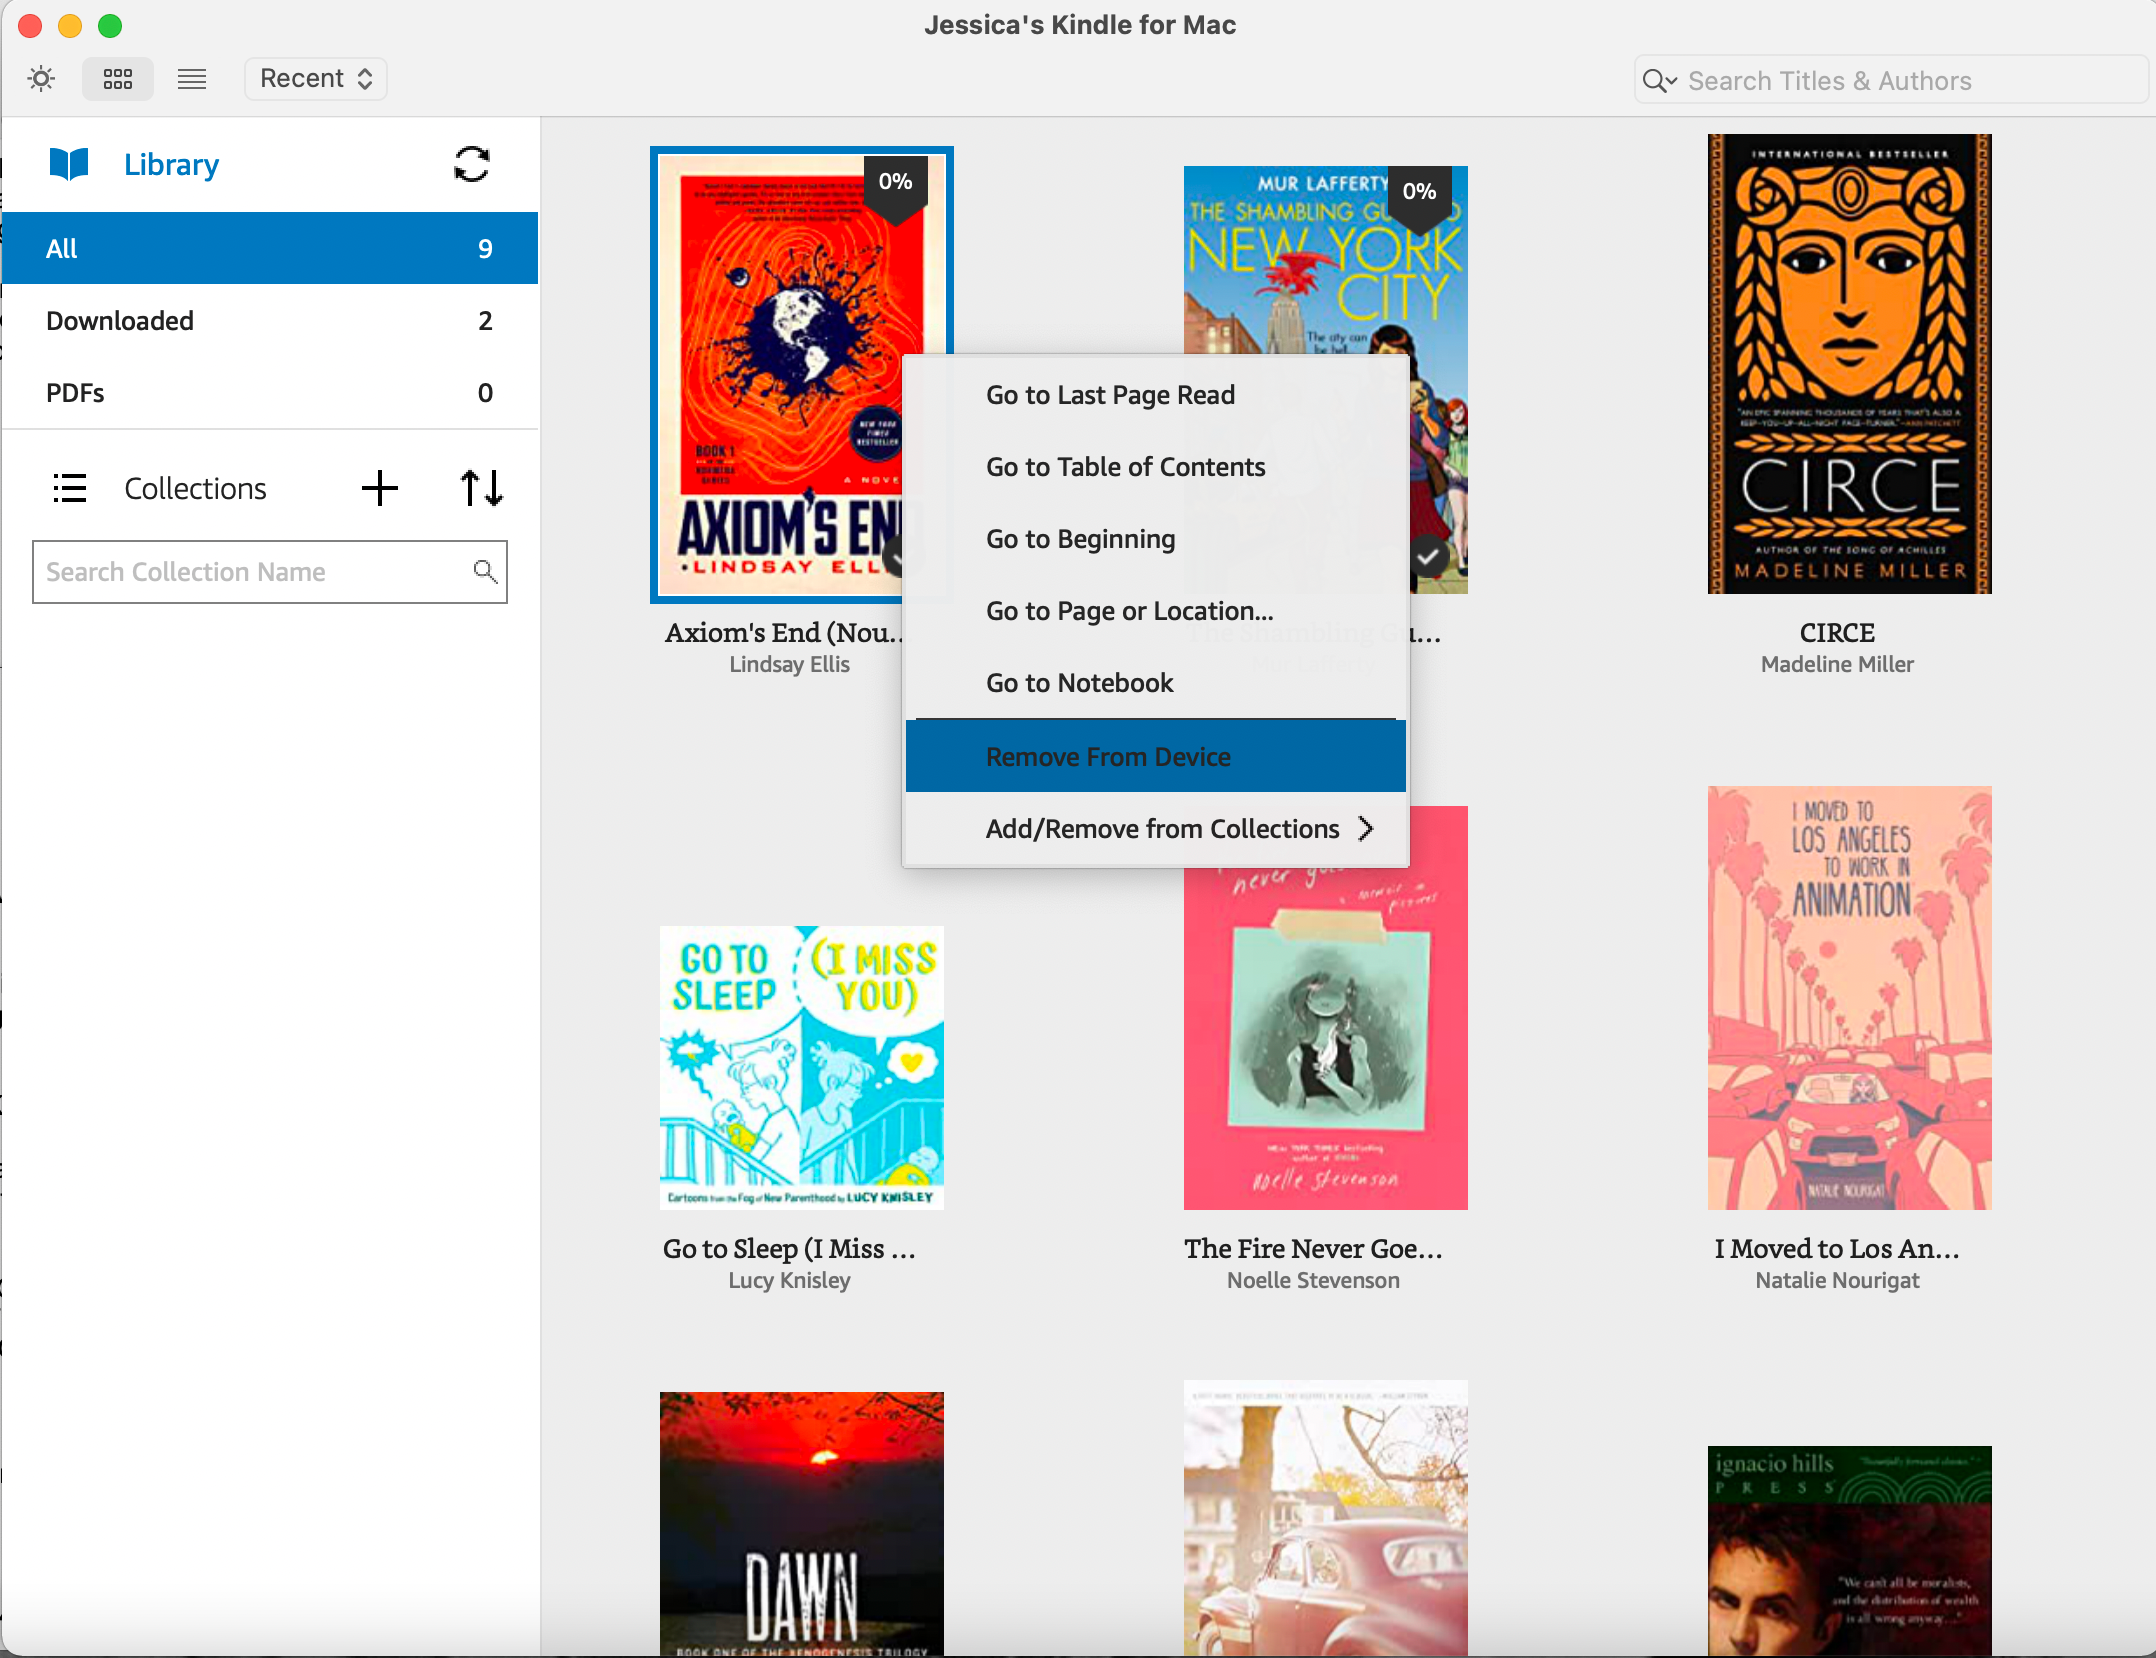
You can also Control-click on an ebook and select if you want to Go to Last Page Read, Go to Table of Contents, or Go to Beginning.
Kindle for Mac ebooks are read one page at a time, though you can change the column structure of the pages via icons at the top of the window.
To navigate through pages, click on the left or right of the page you’re reading or hit the Left and Right Arrow Keys on your Mac’s keyboard. There’s also a marker at the bottom of the app window that you can click and drag to move quickly from one part of the book to another.
To jump to particular chapters or sections in your Kindle for Mac ebook, click the icon with three stacked lines beside three short lines to access the Table of Contents. From here, click on whichever chapter or header you want to start reading from.

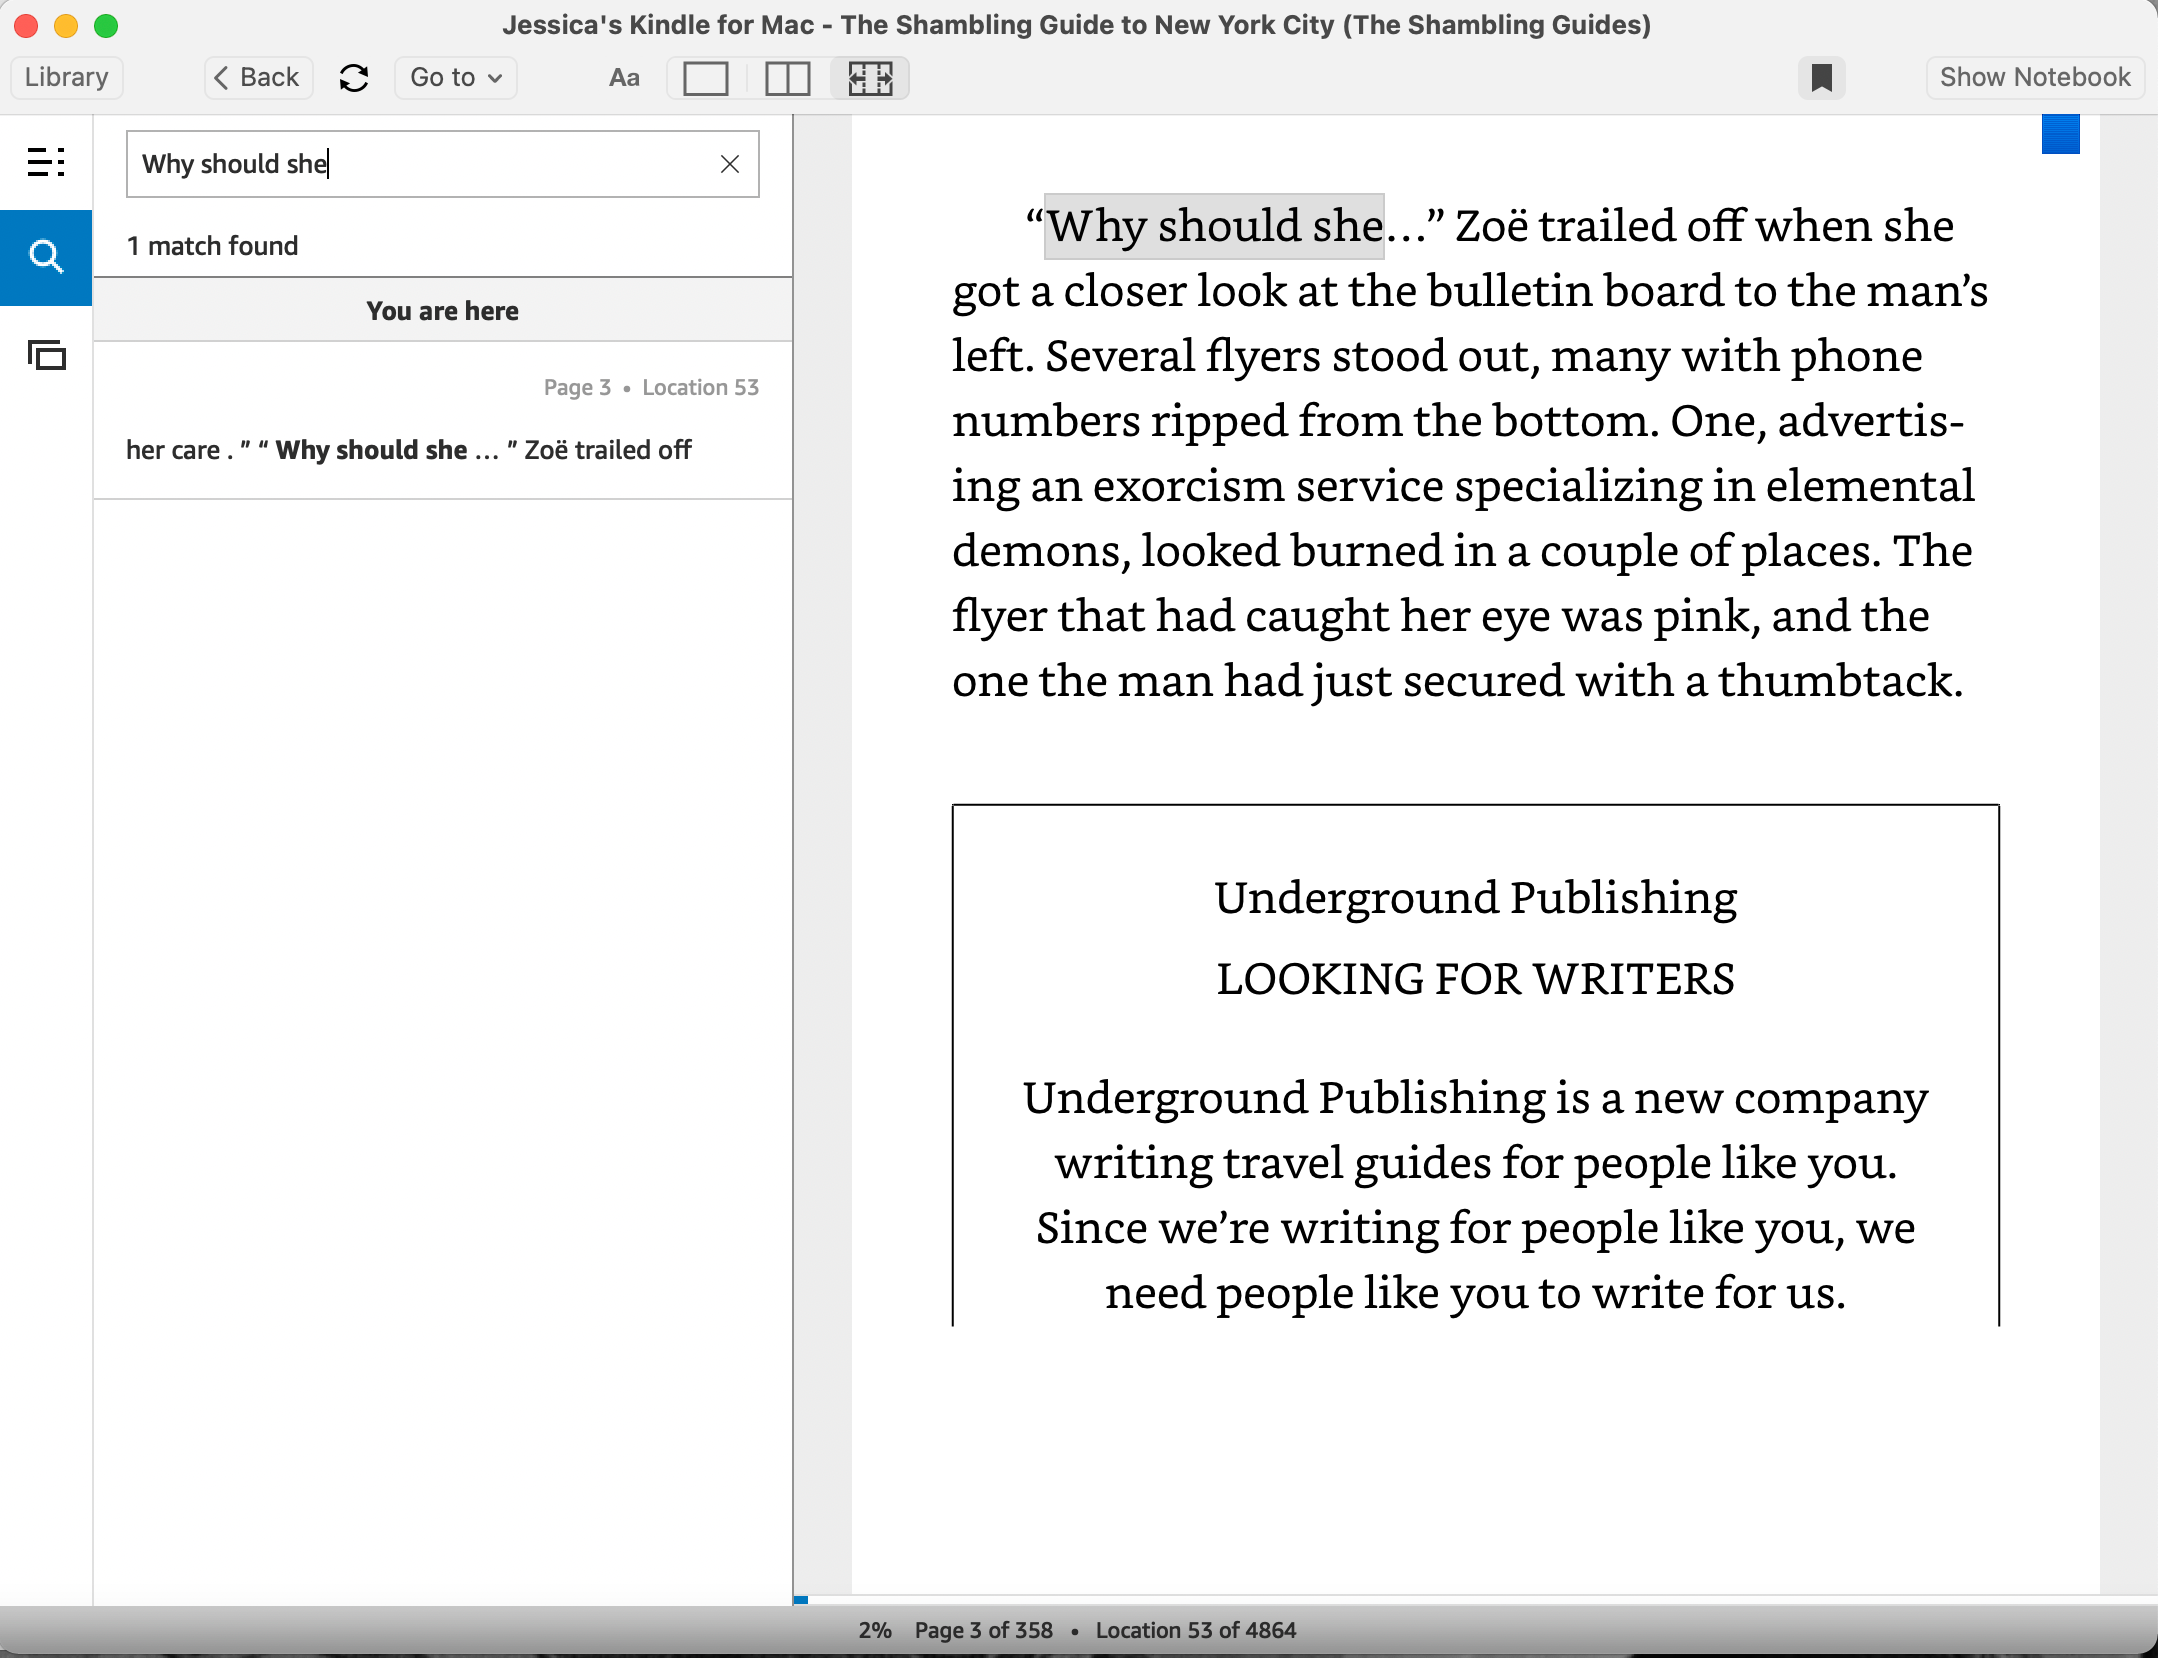
If you need to search for a particular term in your ebook, you can do that by hitting the magnifying glass icon and typing in whatever term you want to search for.
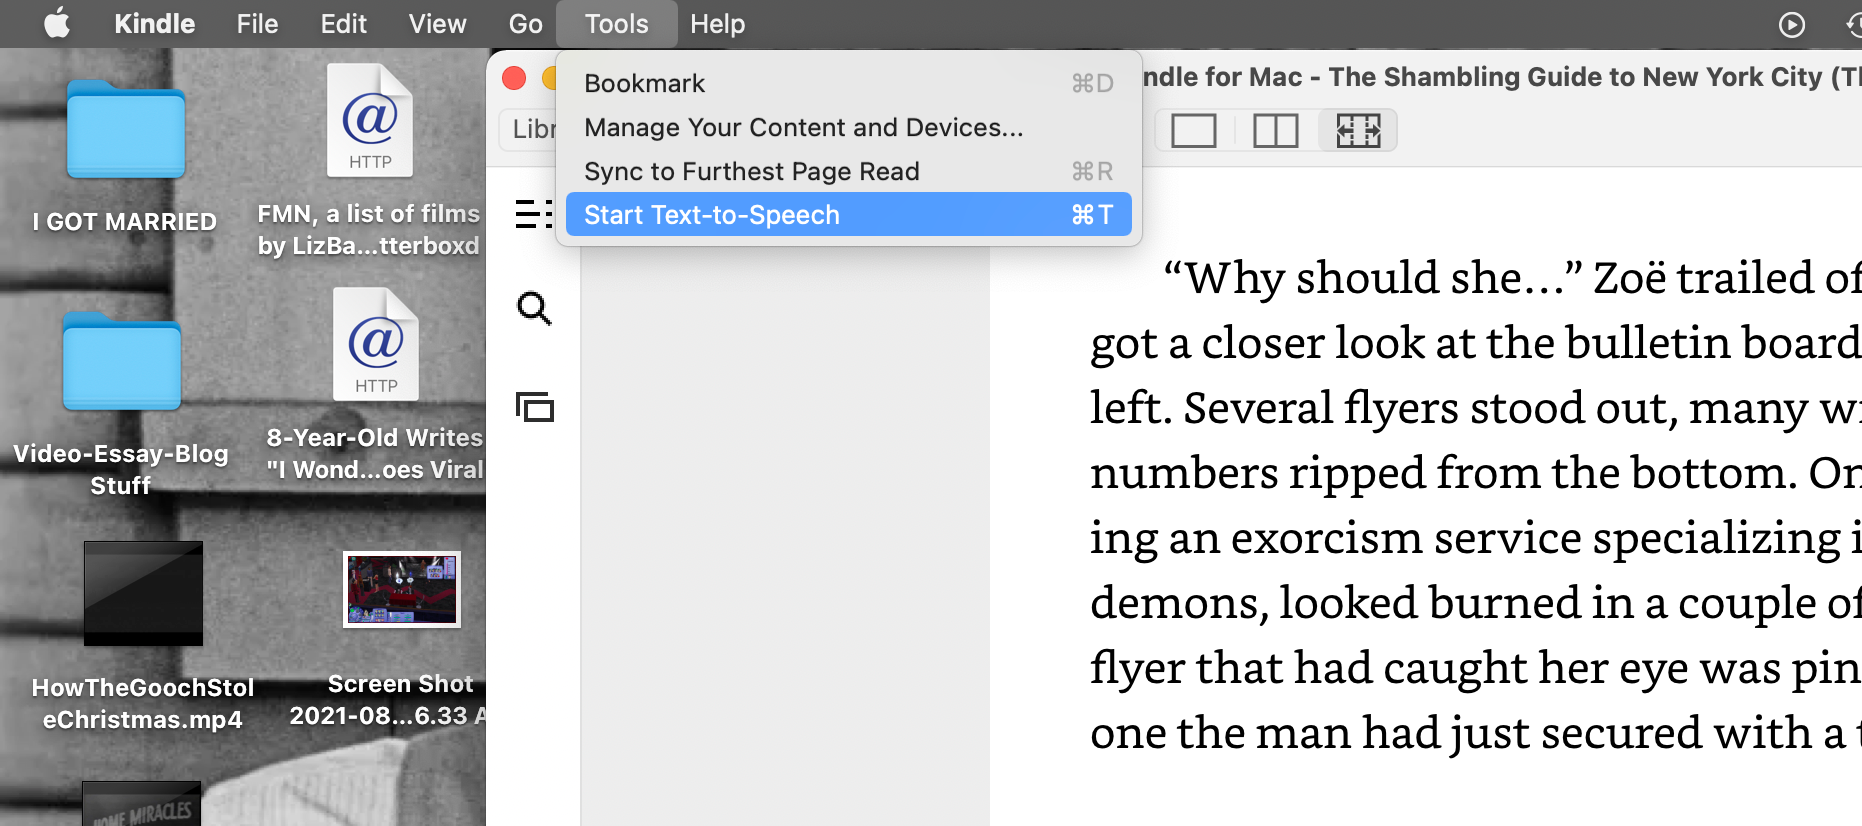
Want to hear your ebook read out loud? Click Tools > Start Text-to-Speech or hit Cmd + T to have your Mac read the ebook text out to you with its Spoken Content voice, moving you through pages as it goes. Hit Cmd + T again or Tools > Stop Text-to-Speech to stop it.
If you want to remove an ebook from your Kindle for Mac app because you’ve completed it, or don’t want to read it on your Mac anymore, Control-click on its cover in your Library. Select Remove From Device from the menu that appears—the book will return to the Kindle cloud, still visible on Kindle for Mac, but no longer taking up memory space there.
Change the Look of Your Kindle for Mac ebook
Any ebook will default to the design the publisher made for it when you first open it in Kindle for Mac. But you can change the font, font size, text alignment, line spacing, page width, brightness and color mode (aka page and text color) of what you’re reading in the app by hitting the Aa icon at the top of the page.
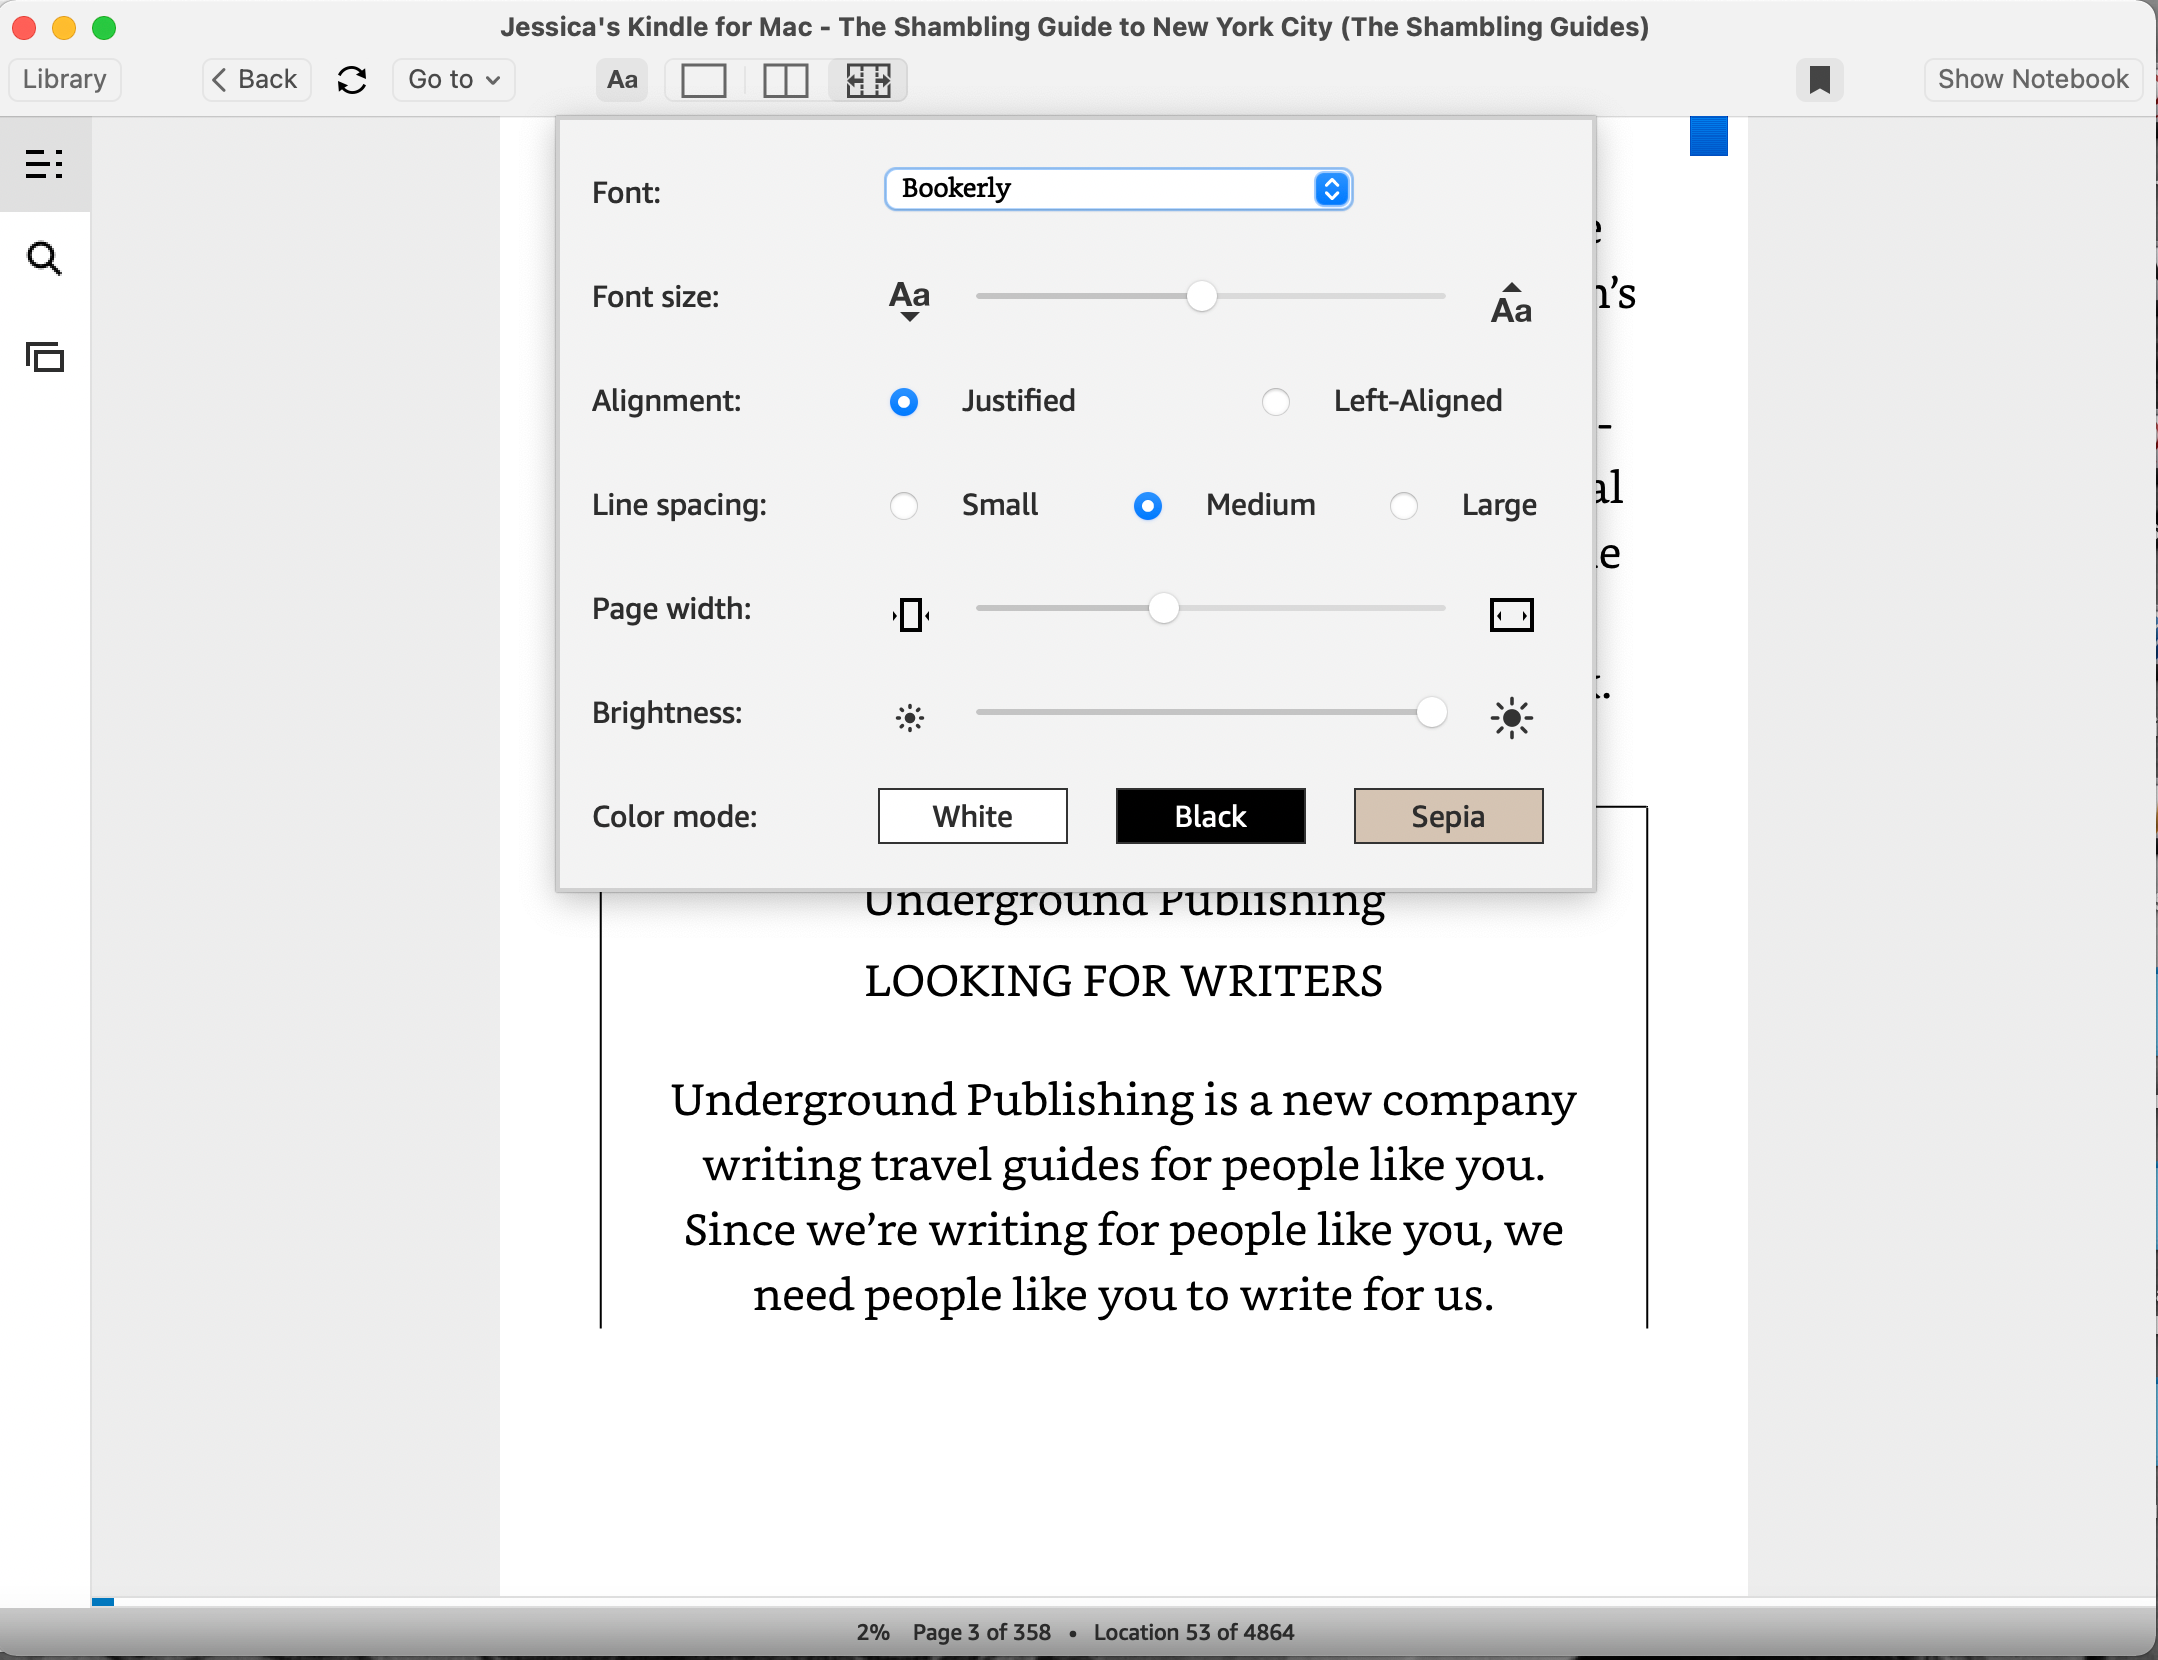
Font size, page width, and brightness are all adjusted by clicking and dragging along a scale, while alignment, line spacing, and color mode give you options to select. The font is changed in a dropdown menu and includes an option that is easier for people with dyslexia to read.
You can change these features at any time to make reading on your Mac the most pleasant experience possible.
Kindle for Mac’s Notebook Feature
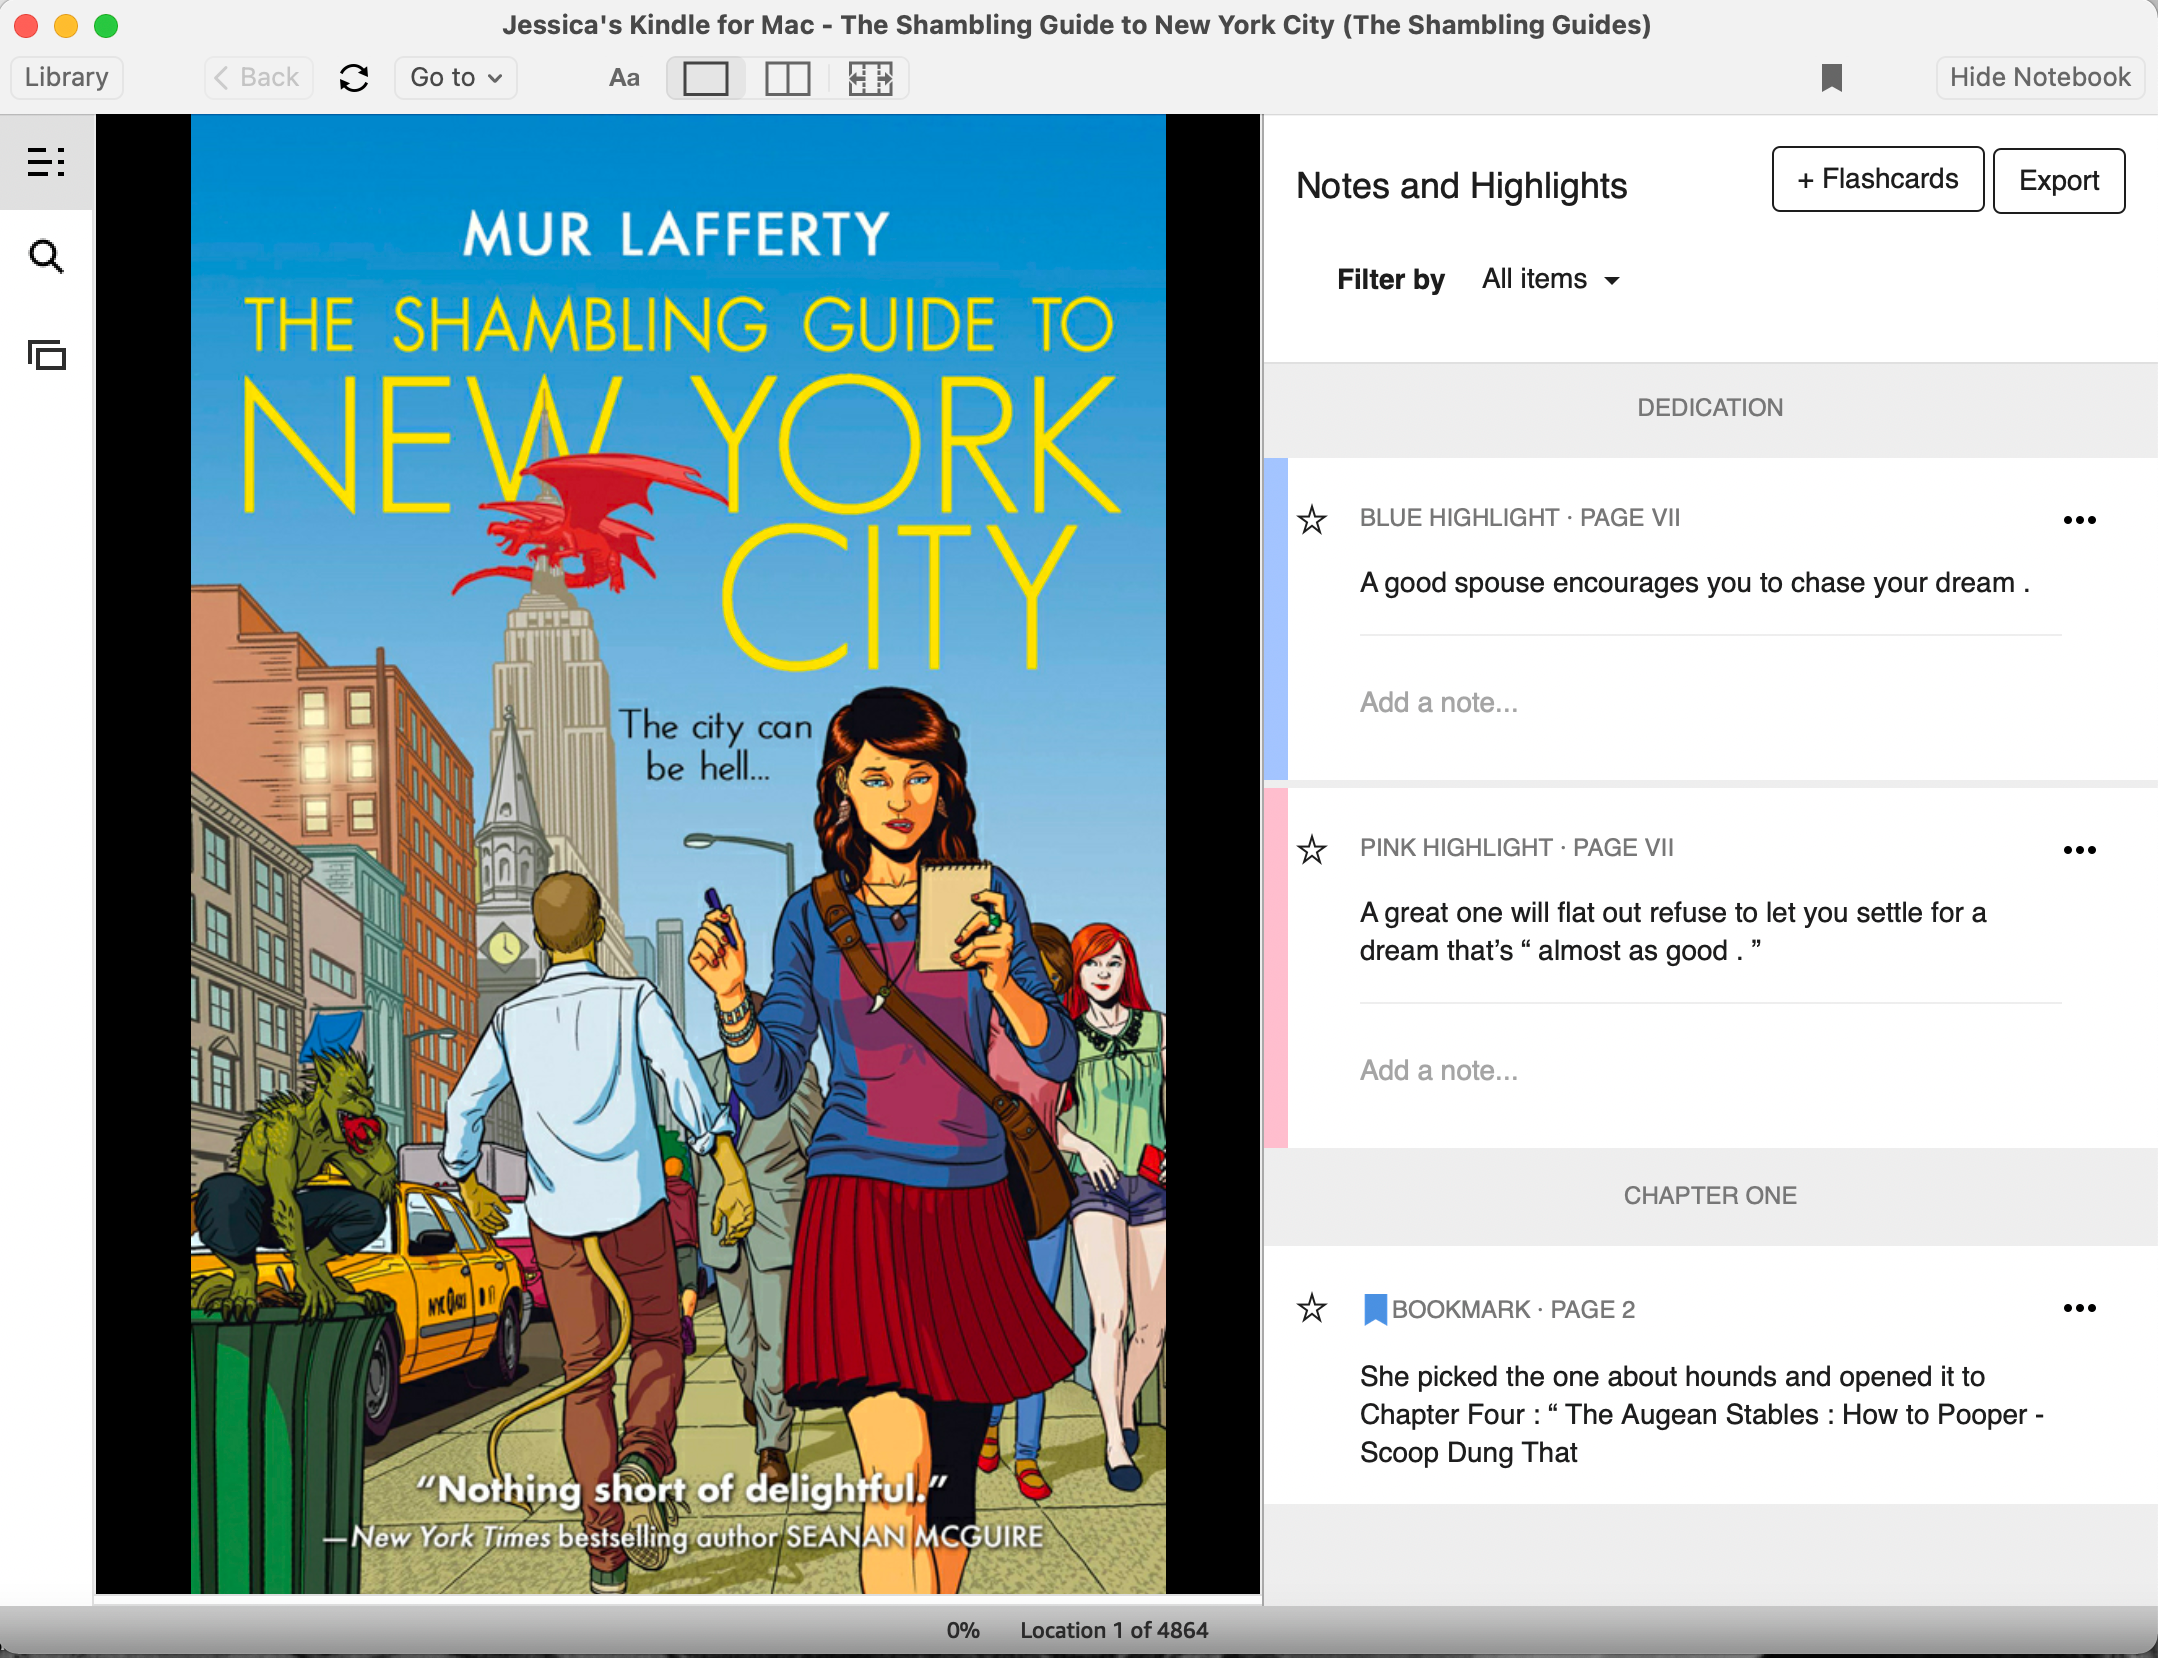
You might find, when you first open an ebook or use Kindle for Mac for the first time, the Notebook is open in one part of the app. The Notebook is a place you can see all your Bookmarks, as well as any Notes and Highlights you make in the ebook.
Bookmarks let you save where you are, or save pages you may frequently visit again, like maps. To leave a bookmark, hit the bookmark icon at the top of the Kindle window, or click the top-right part of an ebook page. To navigate back to a bookmark, click on it within the Notebook Bookmark list.
If you want to make a highlight, click and drag to select the text on the ebook page that you’d like to highlight. You can only highlight word by word. Once you have text selected, release your click, and a menu will appear letting you choose between four colors for your highlight.
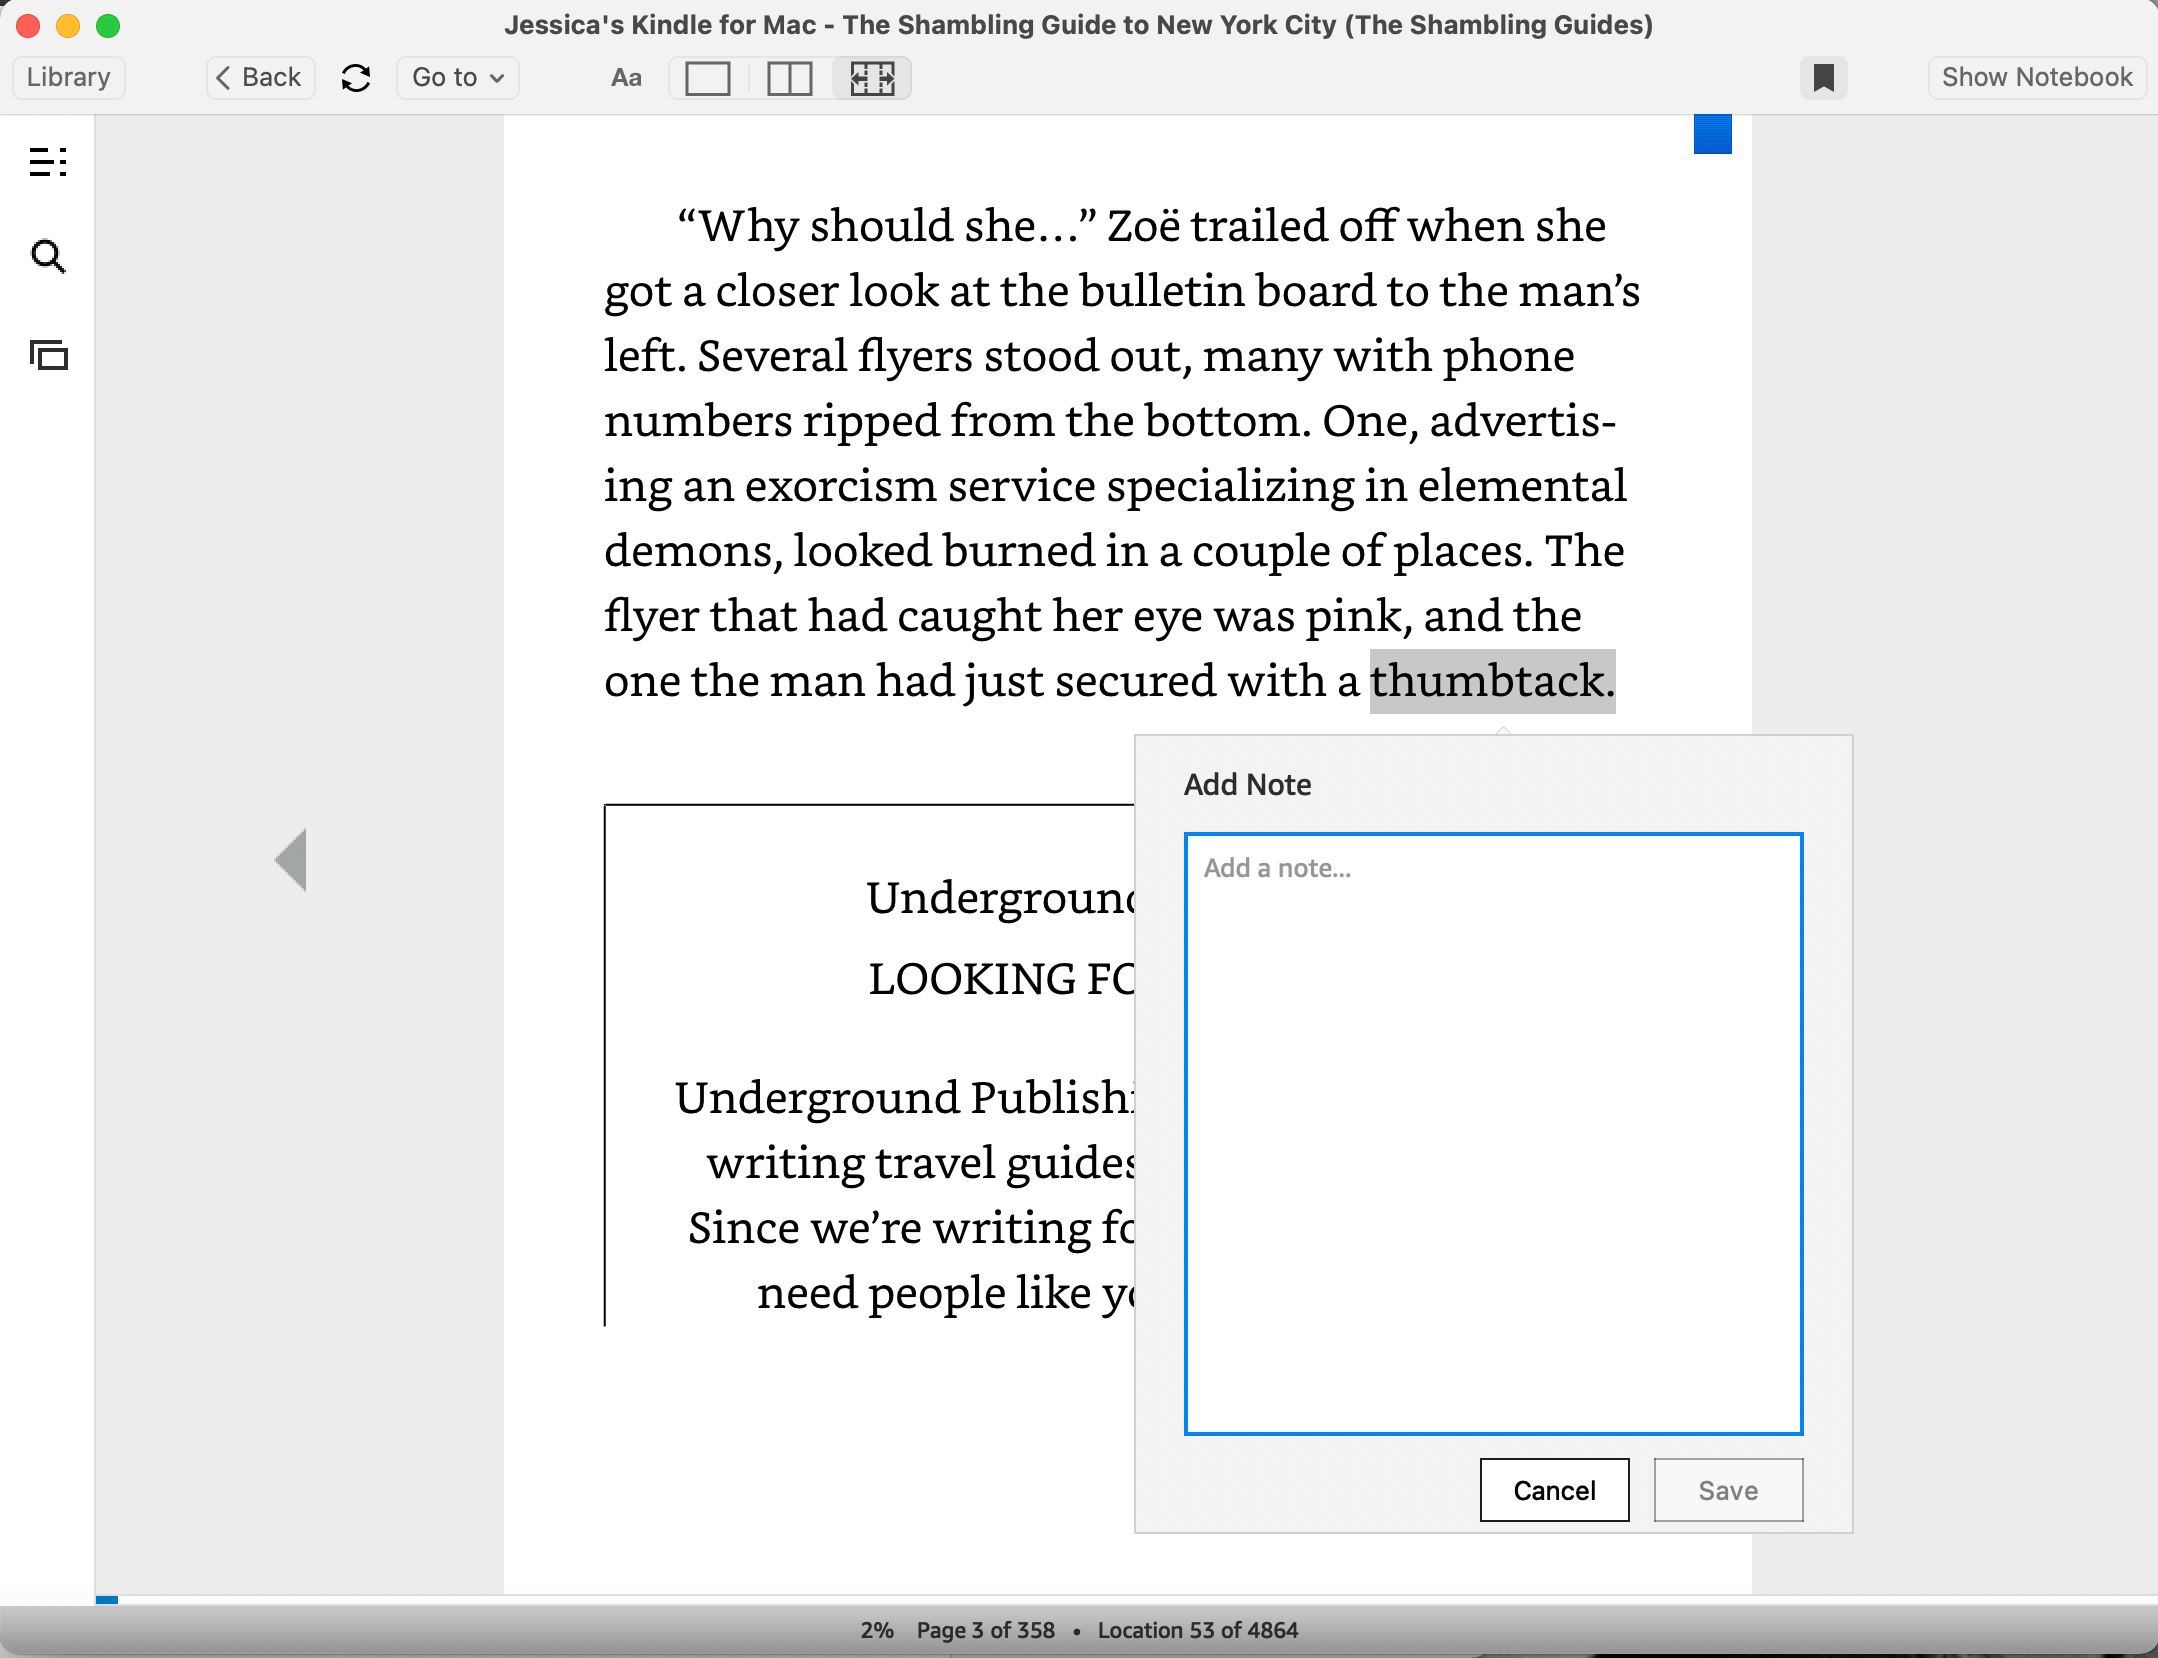
You can also click Add Note from the selected text menu to type out any thoughts you had while reading. Just click Save when you’re done typing in the text window that appears.
You can add notes to highlights within the Notebook by clicking on the Add a note section beneath a highlight you made, then type out your thoughts.
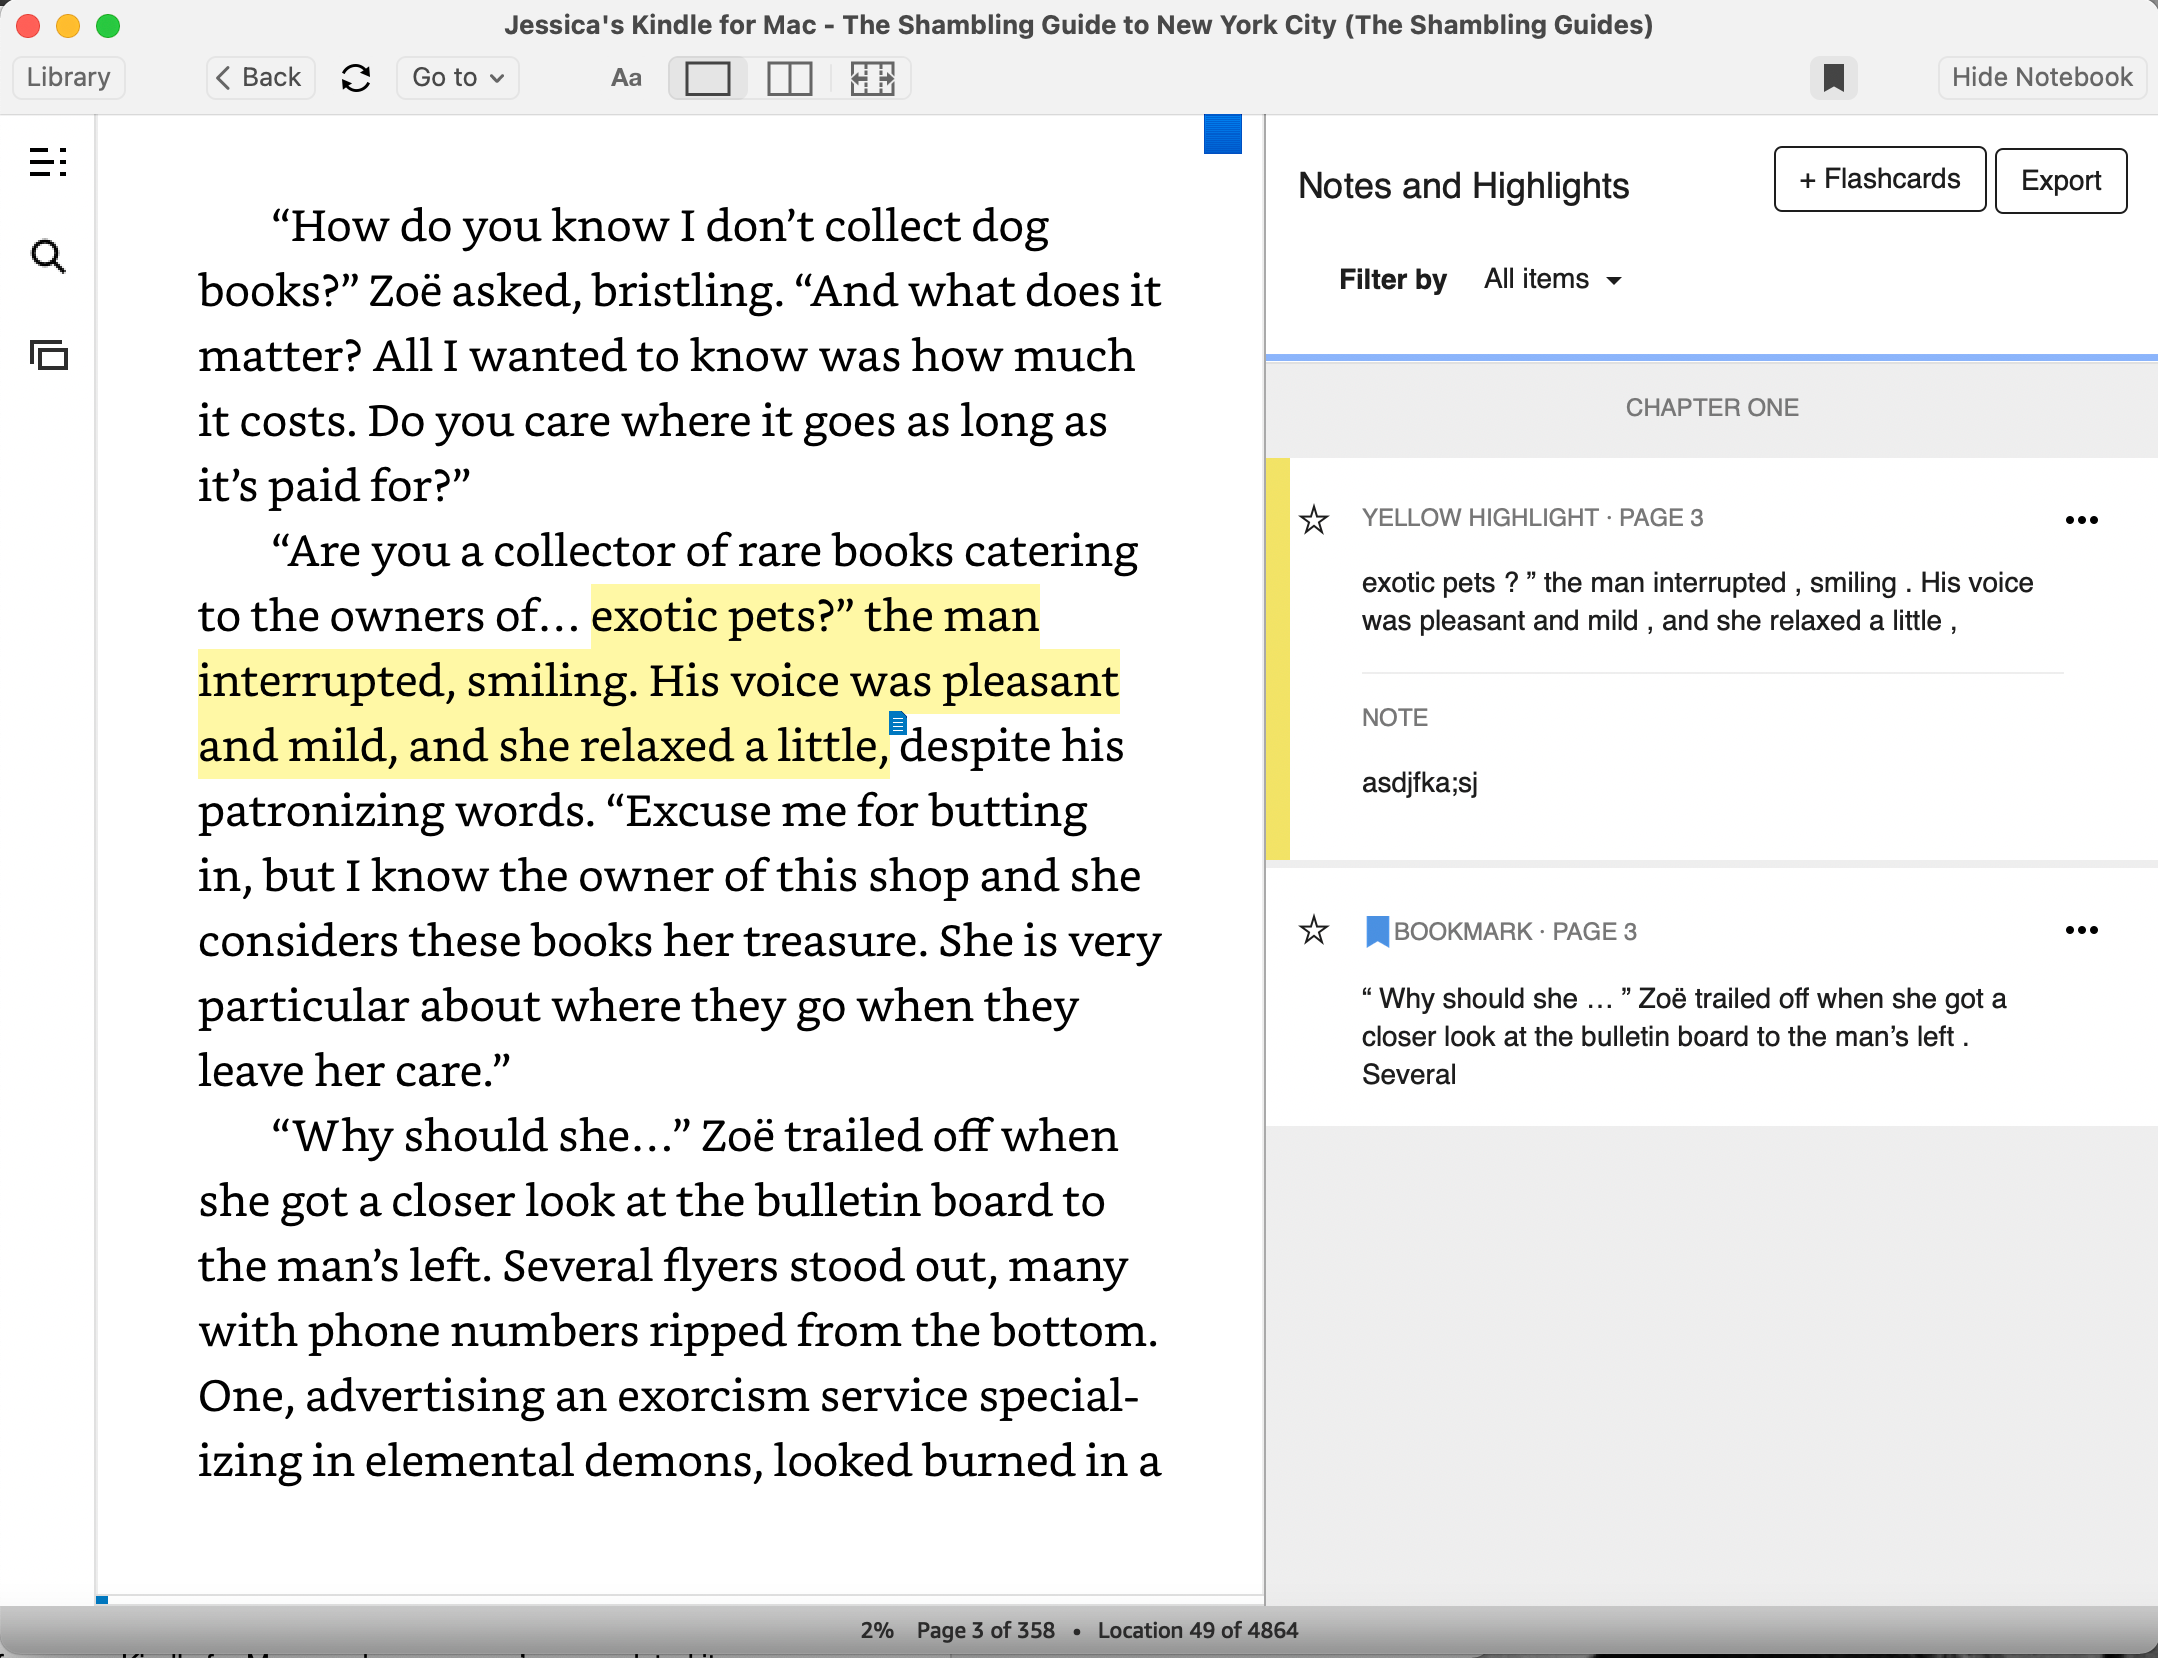
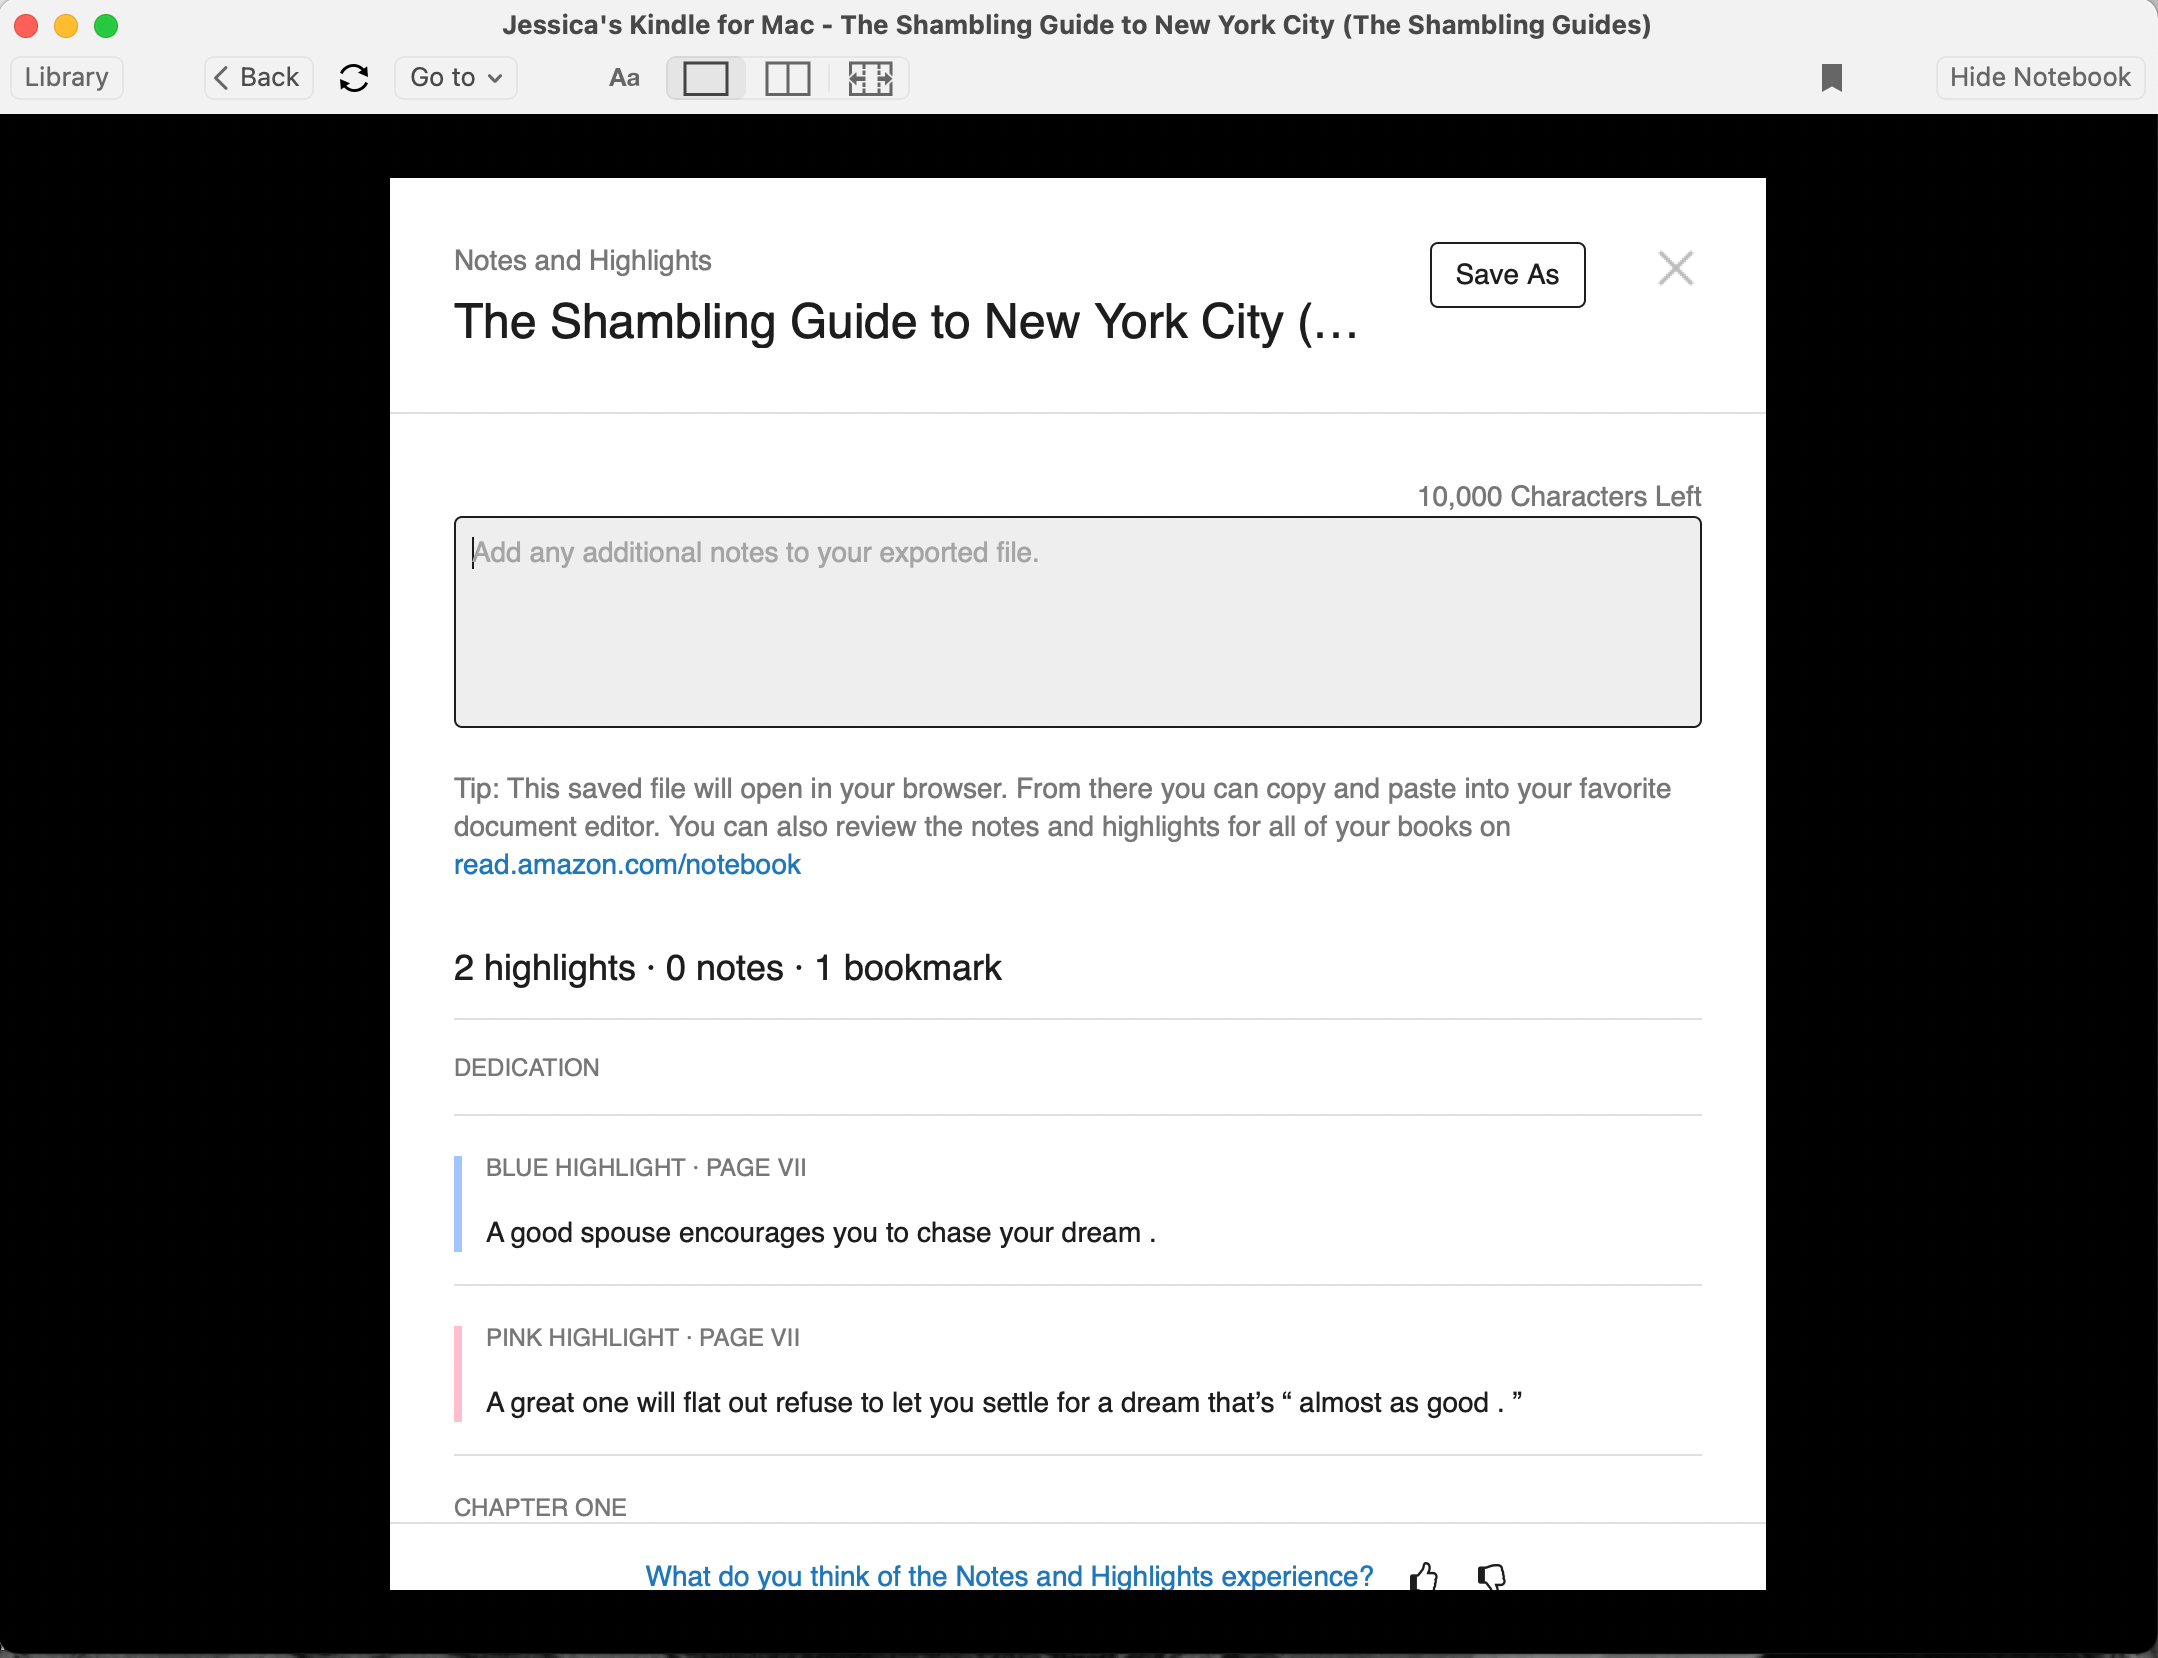
You can export all your notes and highlights by hitting the Export button in Notebook. It creates and saves an HTML file to your Mac that you can open and print, or open as a webpage and save as a PDF.
Need to delete some highlights or notes in your ebook? Click on the three dot icon to the right of their entries in the Notebook, and select Delete note or Delete highlight.

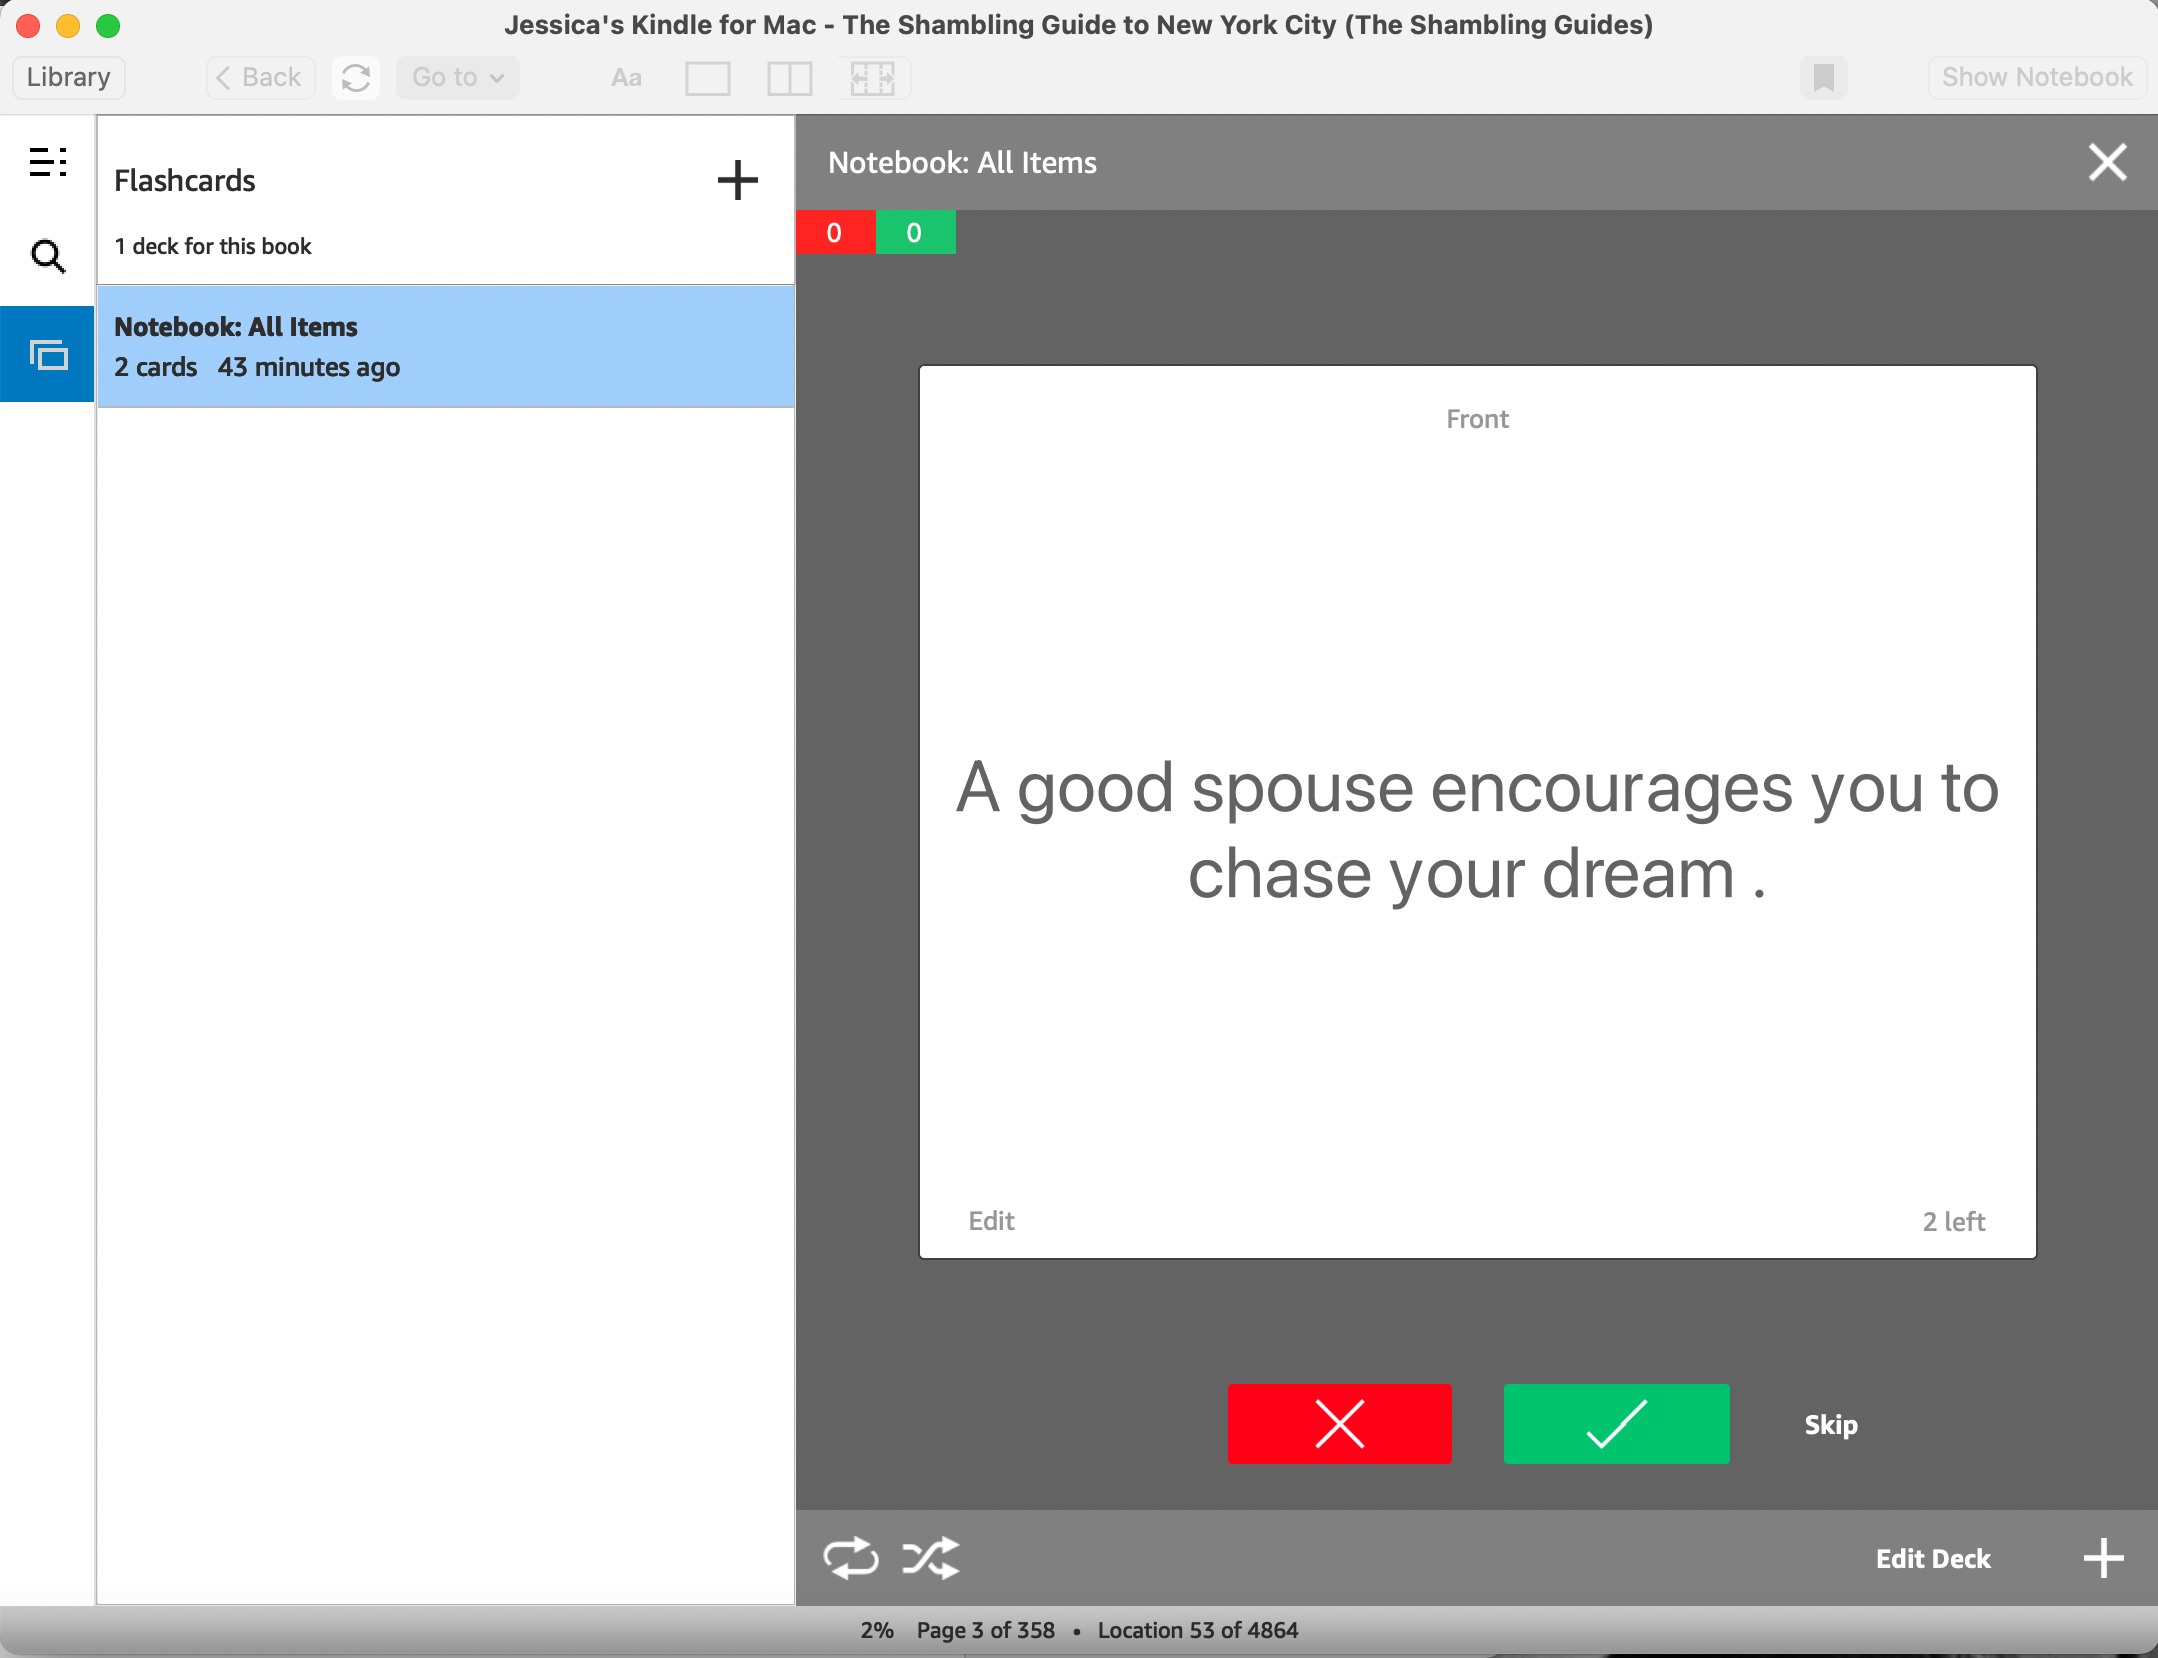
You can also create flashcards out of your notes and highlights by hitting the + Flashcards button in the Notebook. You can edit and run through these flashcards whenever you want by clicking on the overlapping rectangle icon on the left-most menu of the Kindle for Mac window.
If you don’t want to see the Notebook, just hit the Hide Notebook button at the top of the window and it’ll go away. You can hit the Show Notebook button to bring the Notebook back at any time.
Kindle for Mac Lets You Read Tons
Like its iPad and iPhone equivalents, the Kindle app for Mac lets you read tons of ebooks you buy on Amazon, and even take notes on them as you go. It’s a great option if you want to read on your Mac desktop or laptop, and we highly recommend it!